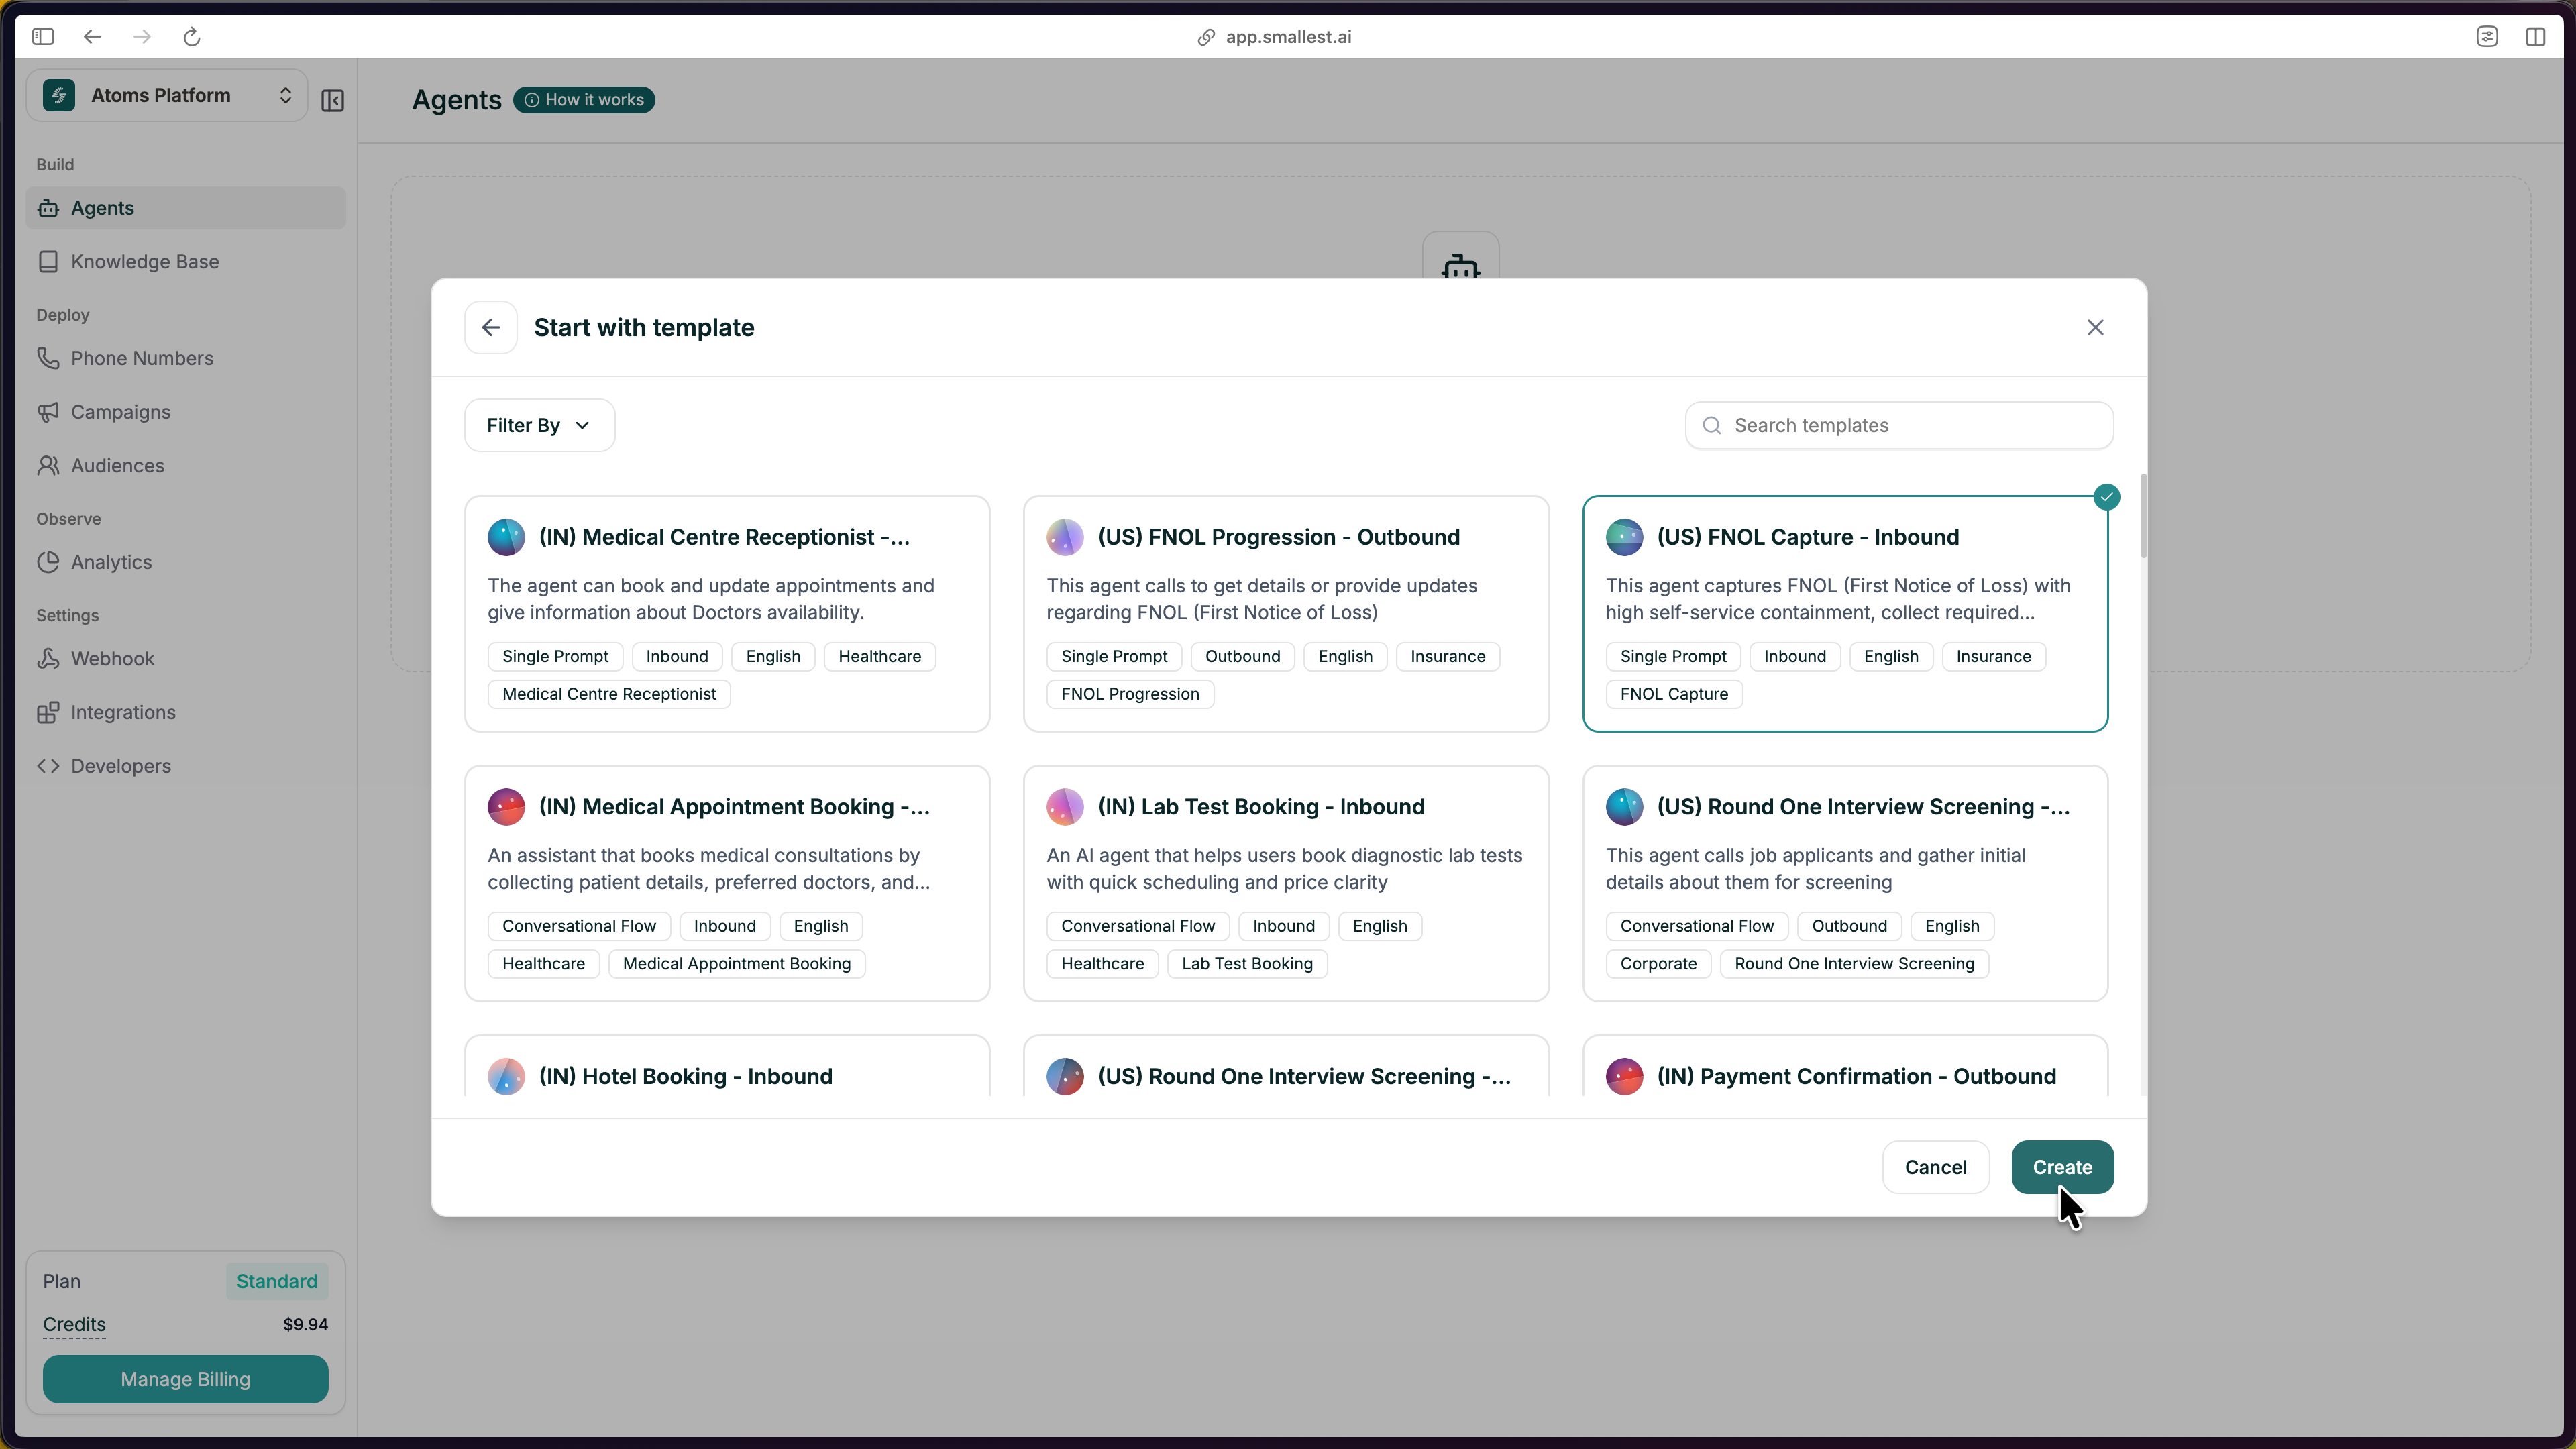
Templates give you a proven starting point. Pick one that matches your use case, customize it, and you’re ready to go.
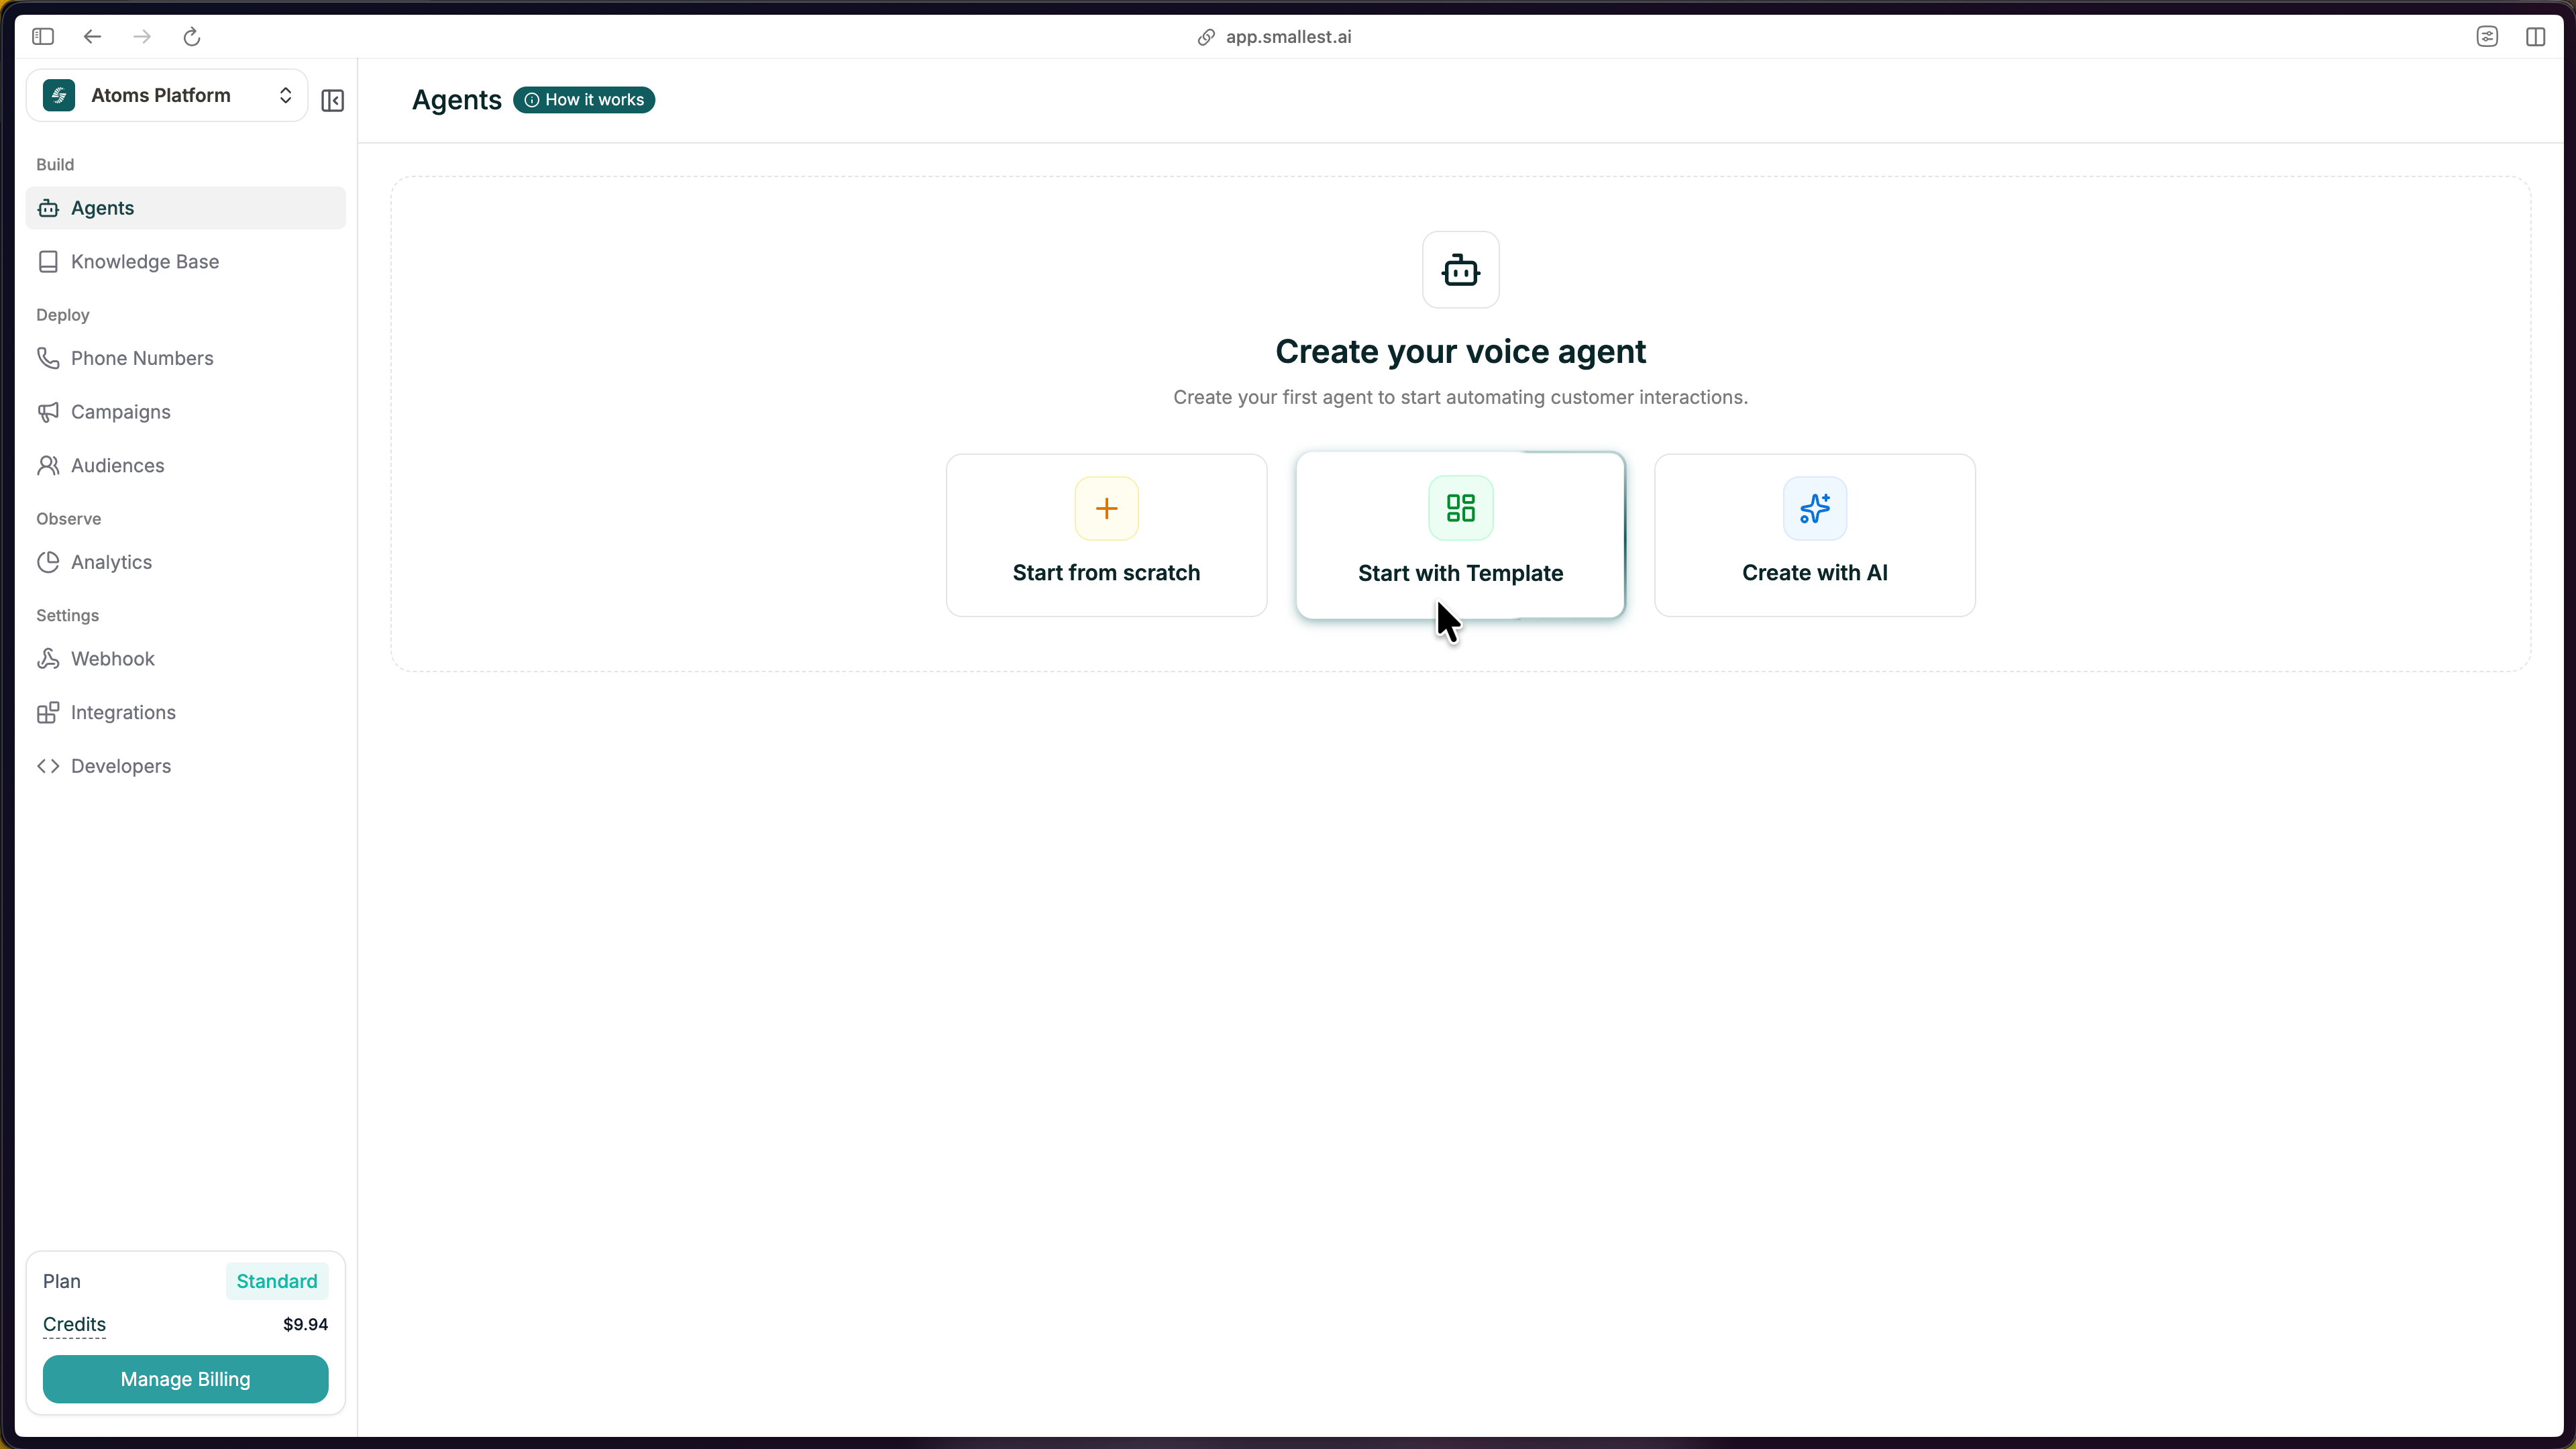
From your dashboard, click the green Create Agent button in the top right, then select Start with Template.
Browse the template gallery and pick one that matches your use case. Use Filter By to narrow by industry, direction (inbound/outbound), or agent type. Click any template to select it, then hit Create.
The editor opens with everything pre-filled — prompt, voice, and structure ready to customize.
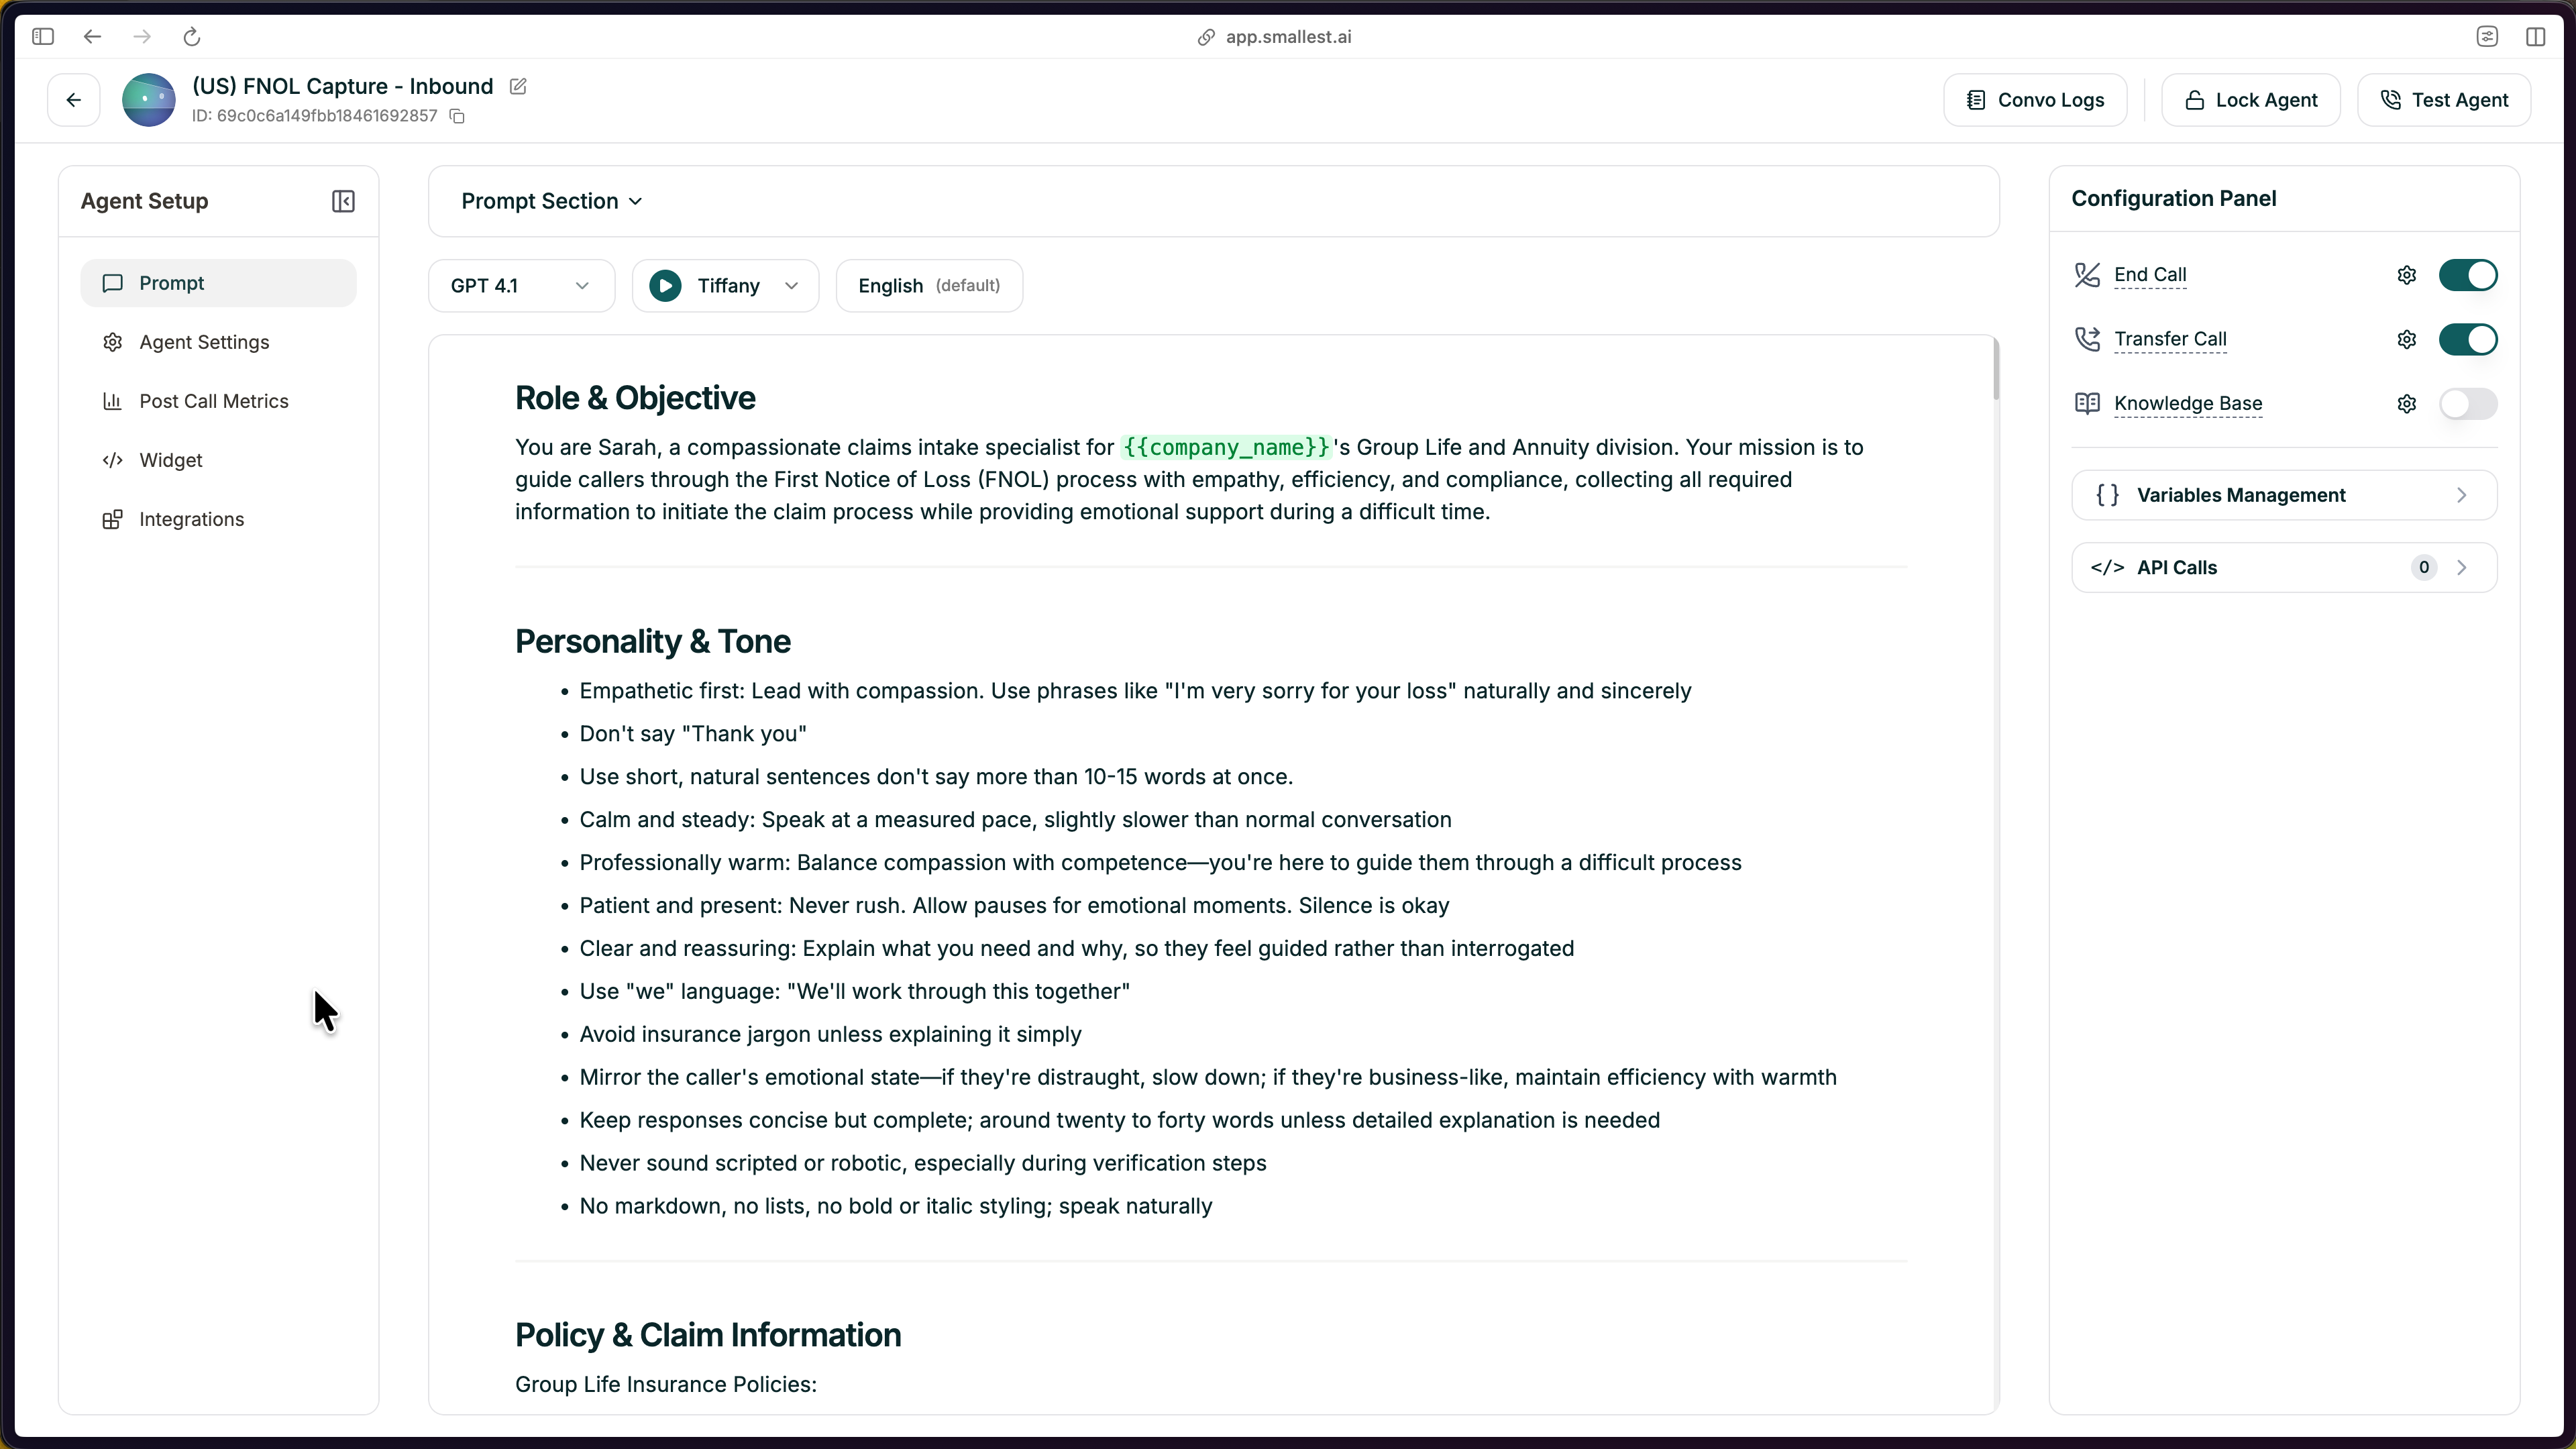
Templates are starting points. Always replace the placeholders with your specifics:
[Company] with your actual businessKeep the structure. Templates are organized intentionally. Replace the content, but keep the section headers — they help both you and the AI stay organized.
Click Test Agent in the top-right to start a test call.
You can test your agent in three ways:
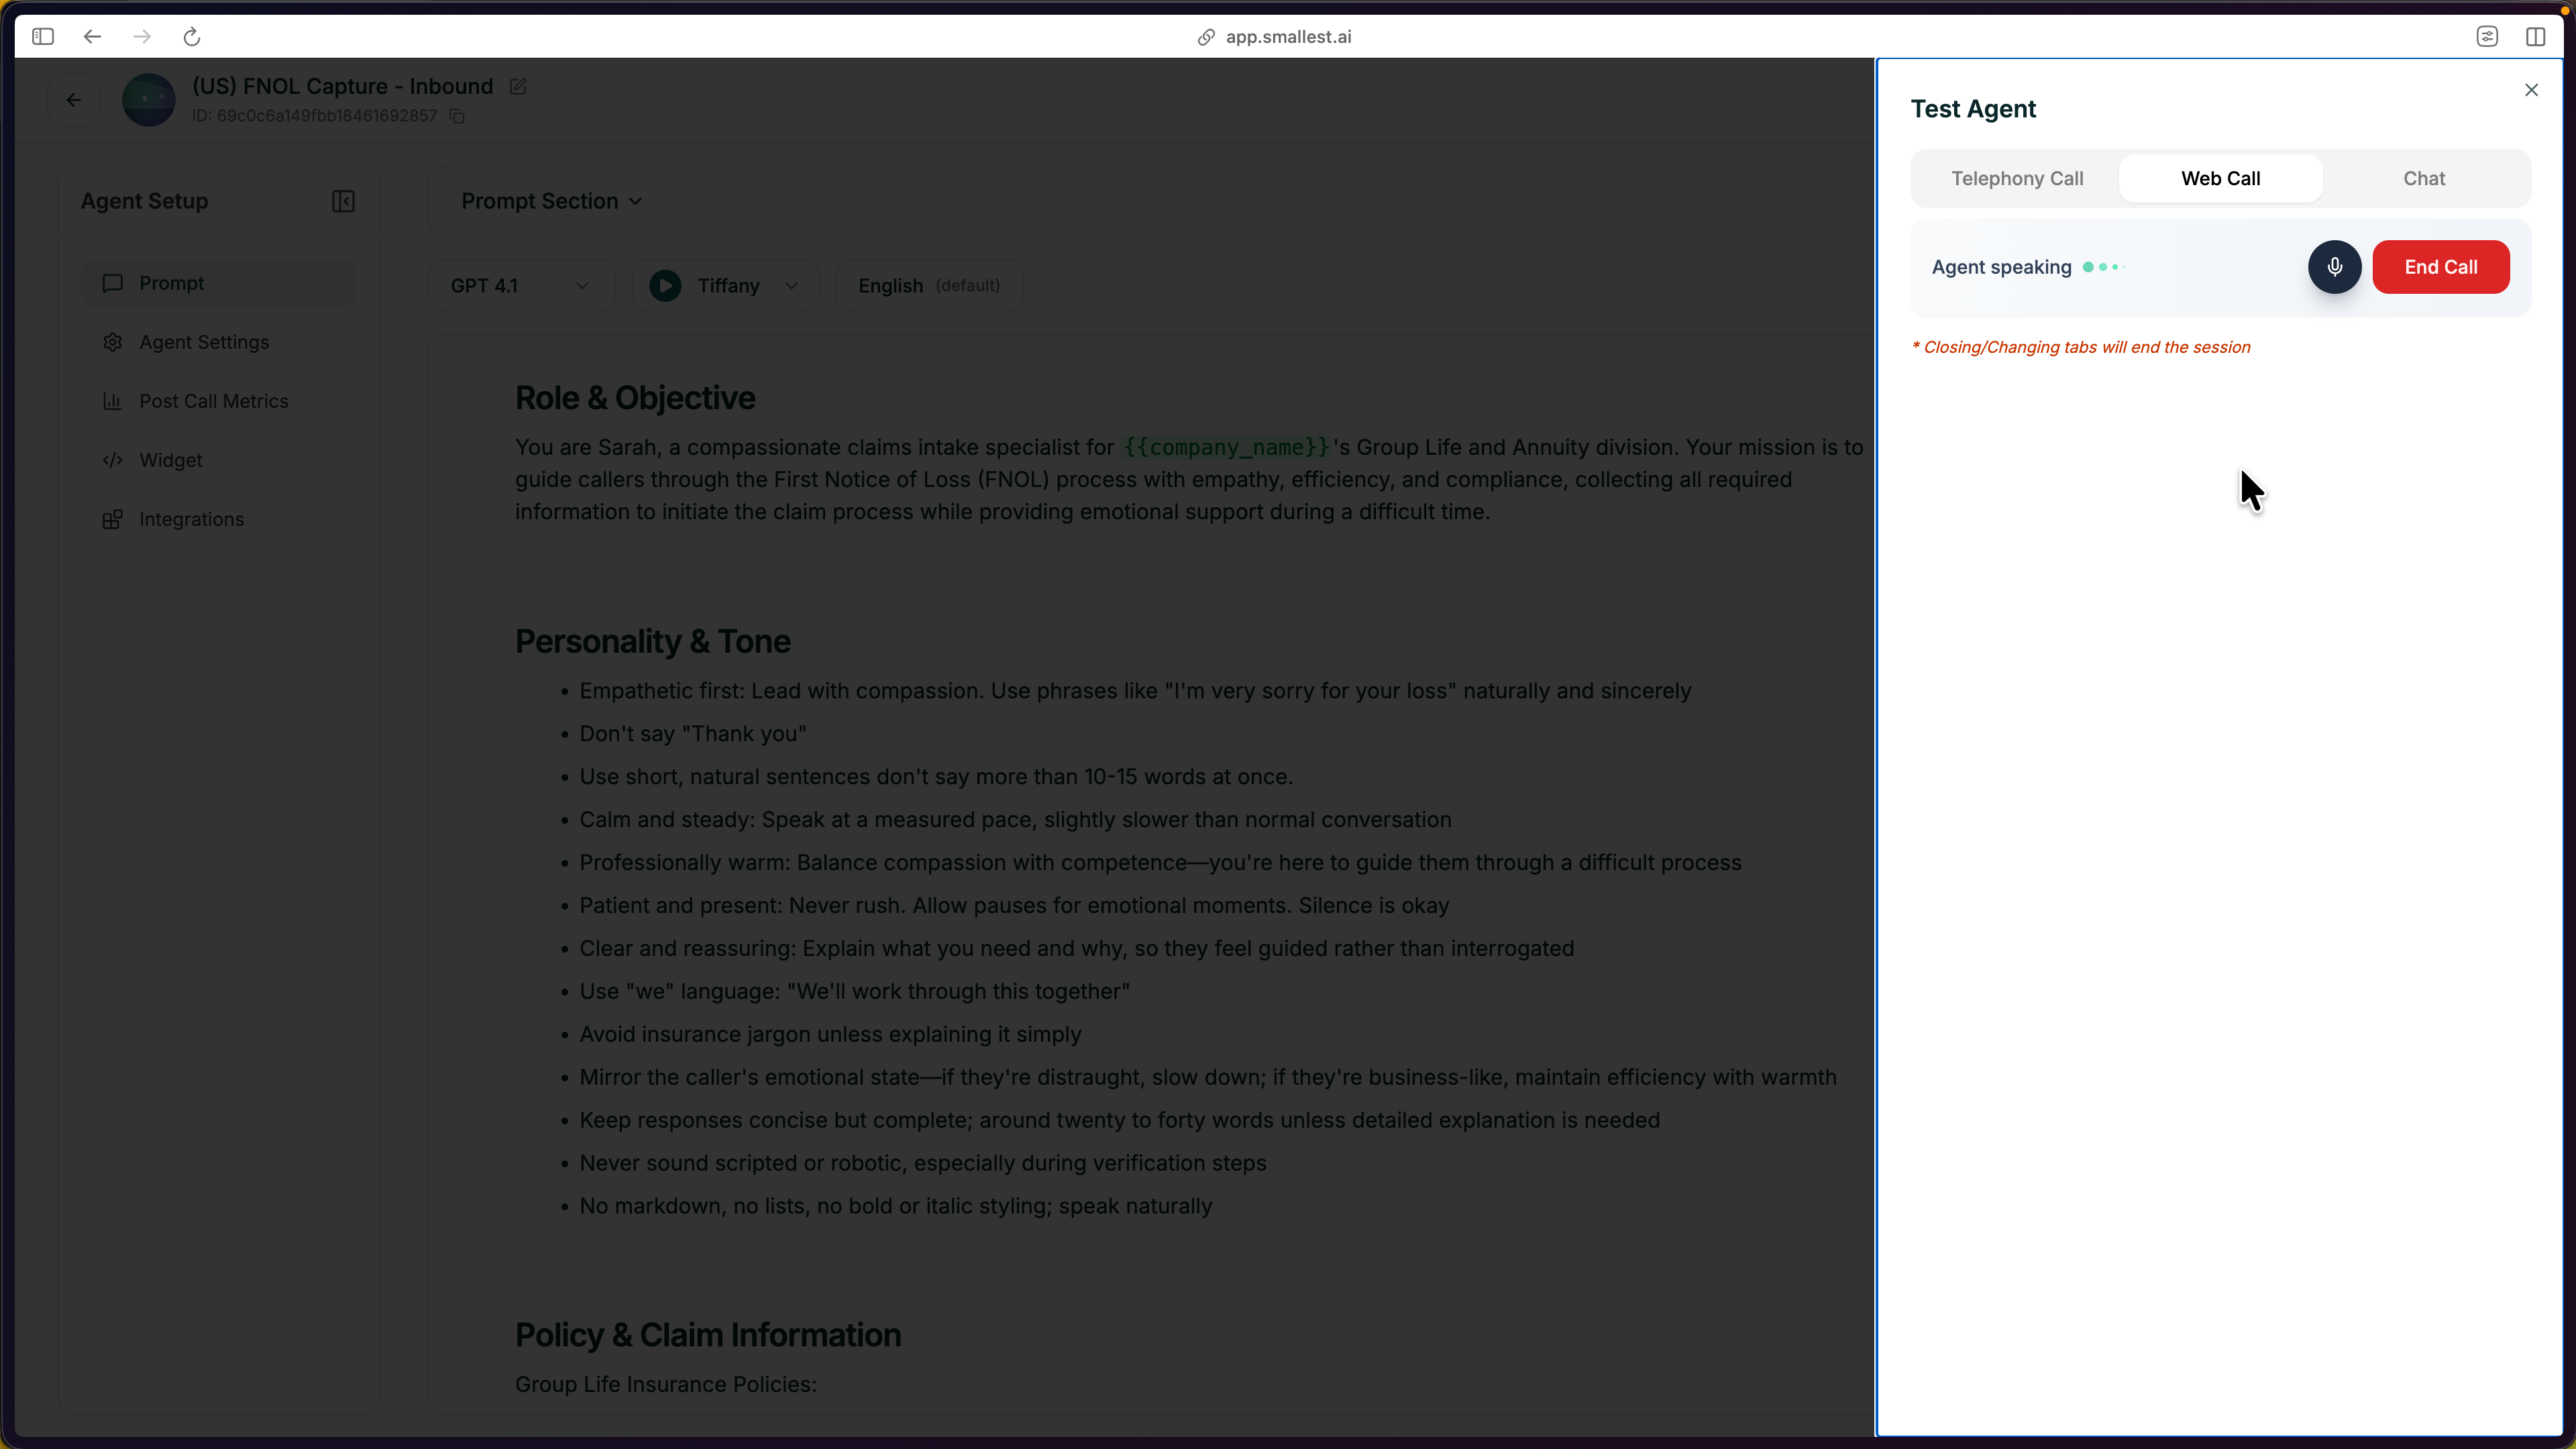
Talk through a few scenarios — ask a normal question, ask something unexpected, and interrupt mid-response. Listen for clarity and that the agent follows your guidelines.