
Create an Agent
Start from a template or from scratch. Both get you to a working agent in a few minutes.
Start with a Template
Start from Scratch
Open Create Agent
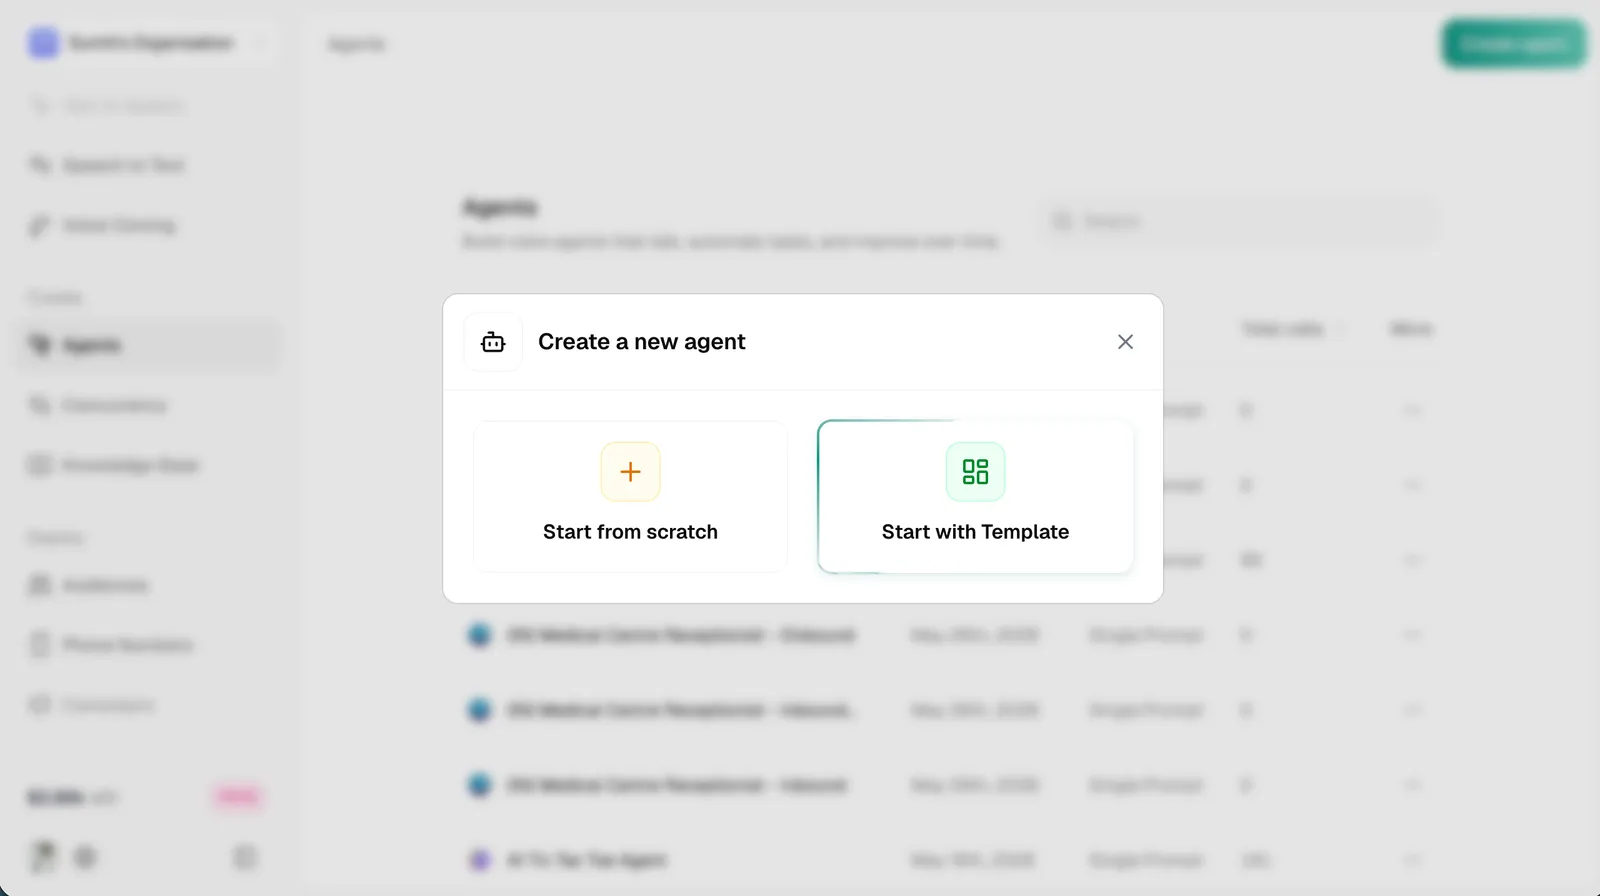
From your dashboard, click the green Create Agent button in the top right, then select Start with Template and choose Single Prompt as your agent type.
Pick a Template
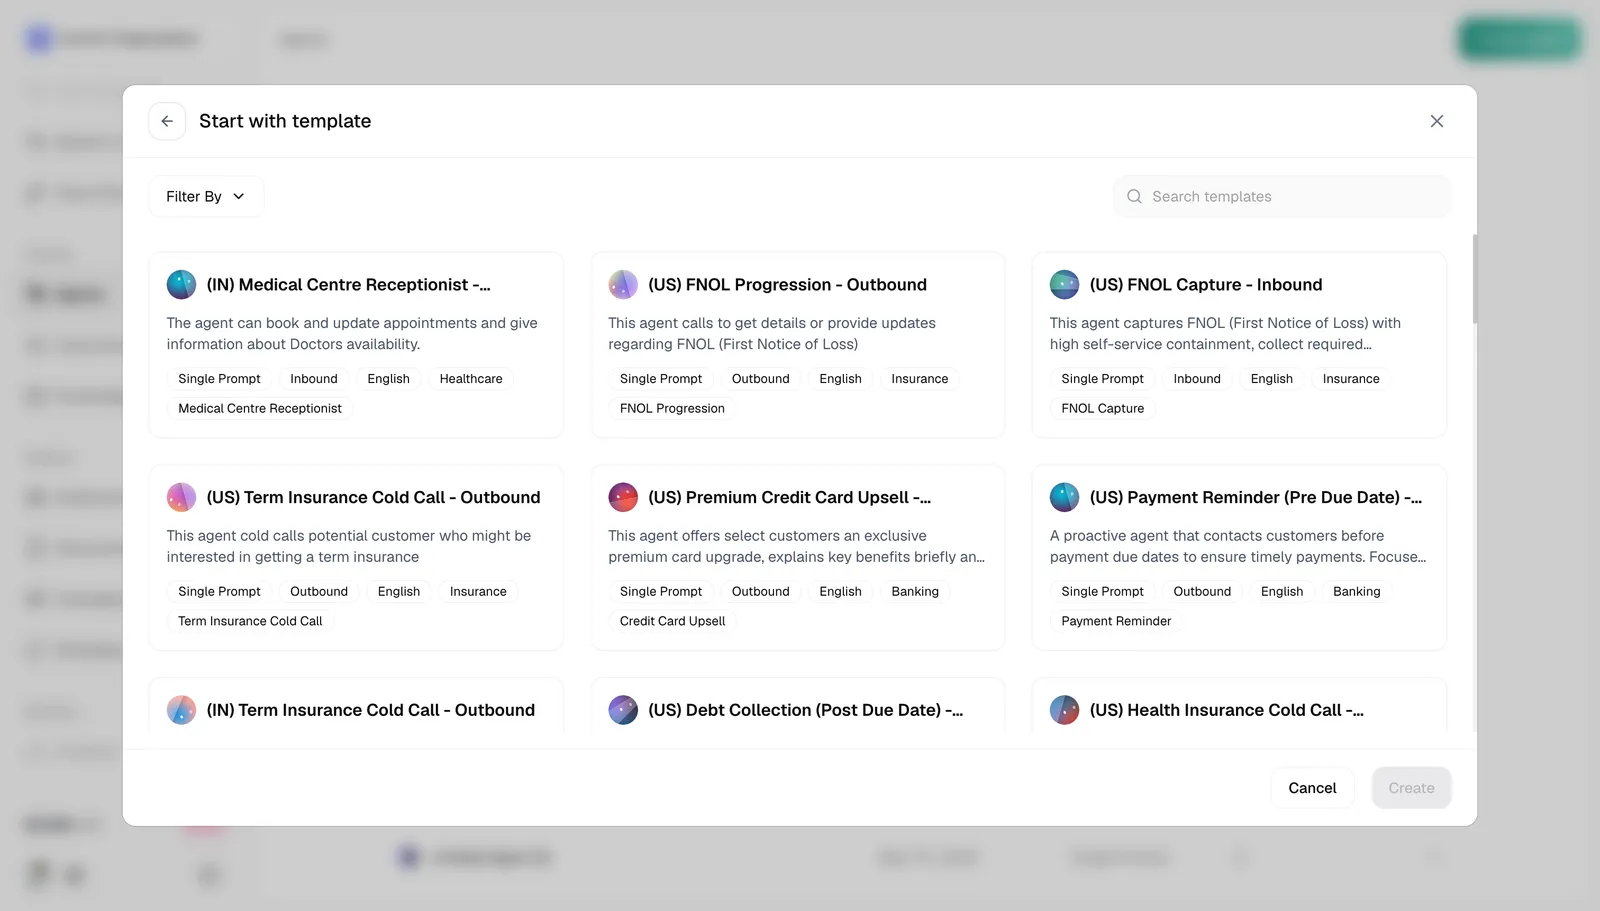
Browse the template gallery and pick one close to your use case. Use Filter By to narrow by industry, direction (inbound or outbound), or agent type. Click a template, then hit Create.
Customize the Template
The editor opens with a prompt, voice, and structure already filled in. Replace the placeholders with your own details:
- Company name and details. Swap in your actual business name
- Policies and rules. Update return windows, hours, pricing, and similar details
- Tone. Adjust the wording to match your brand
Keep the section headers as they are. They keep both you and the AI organized, even after you change the content.
Test Your Agent
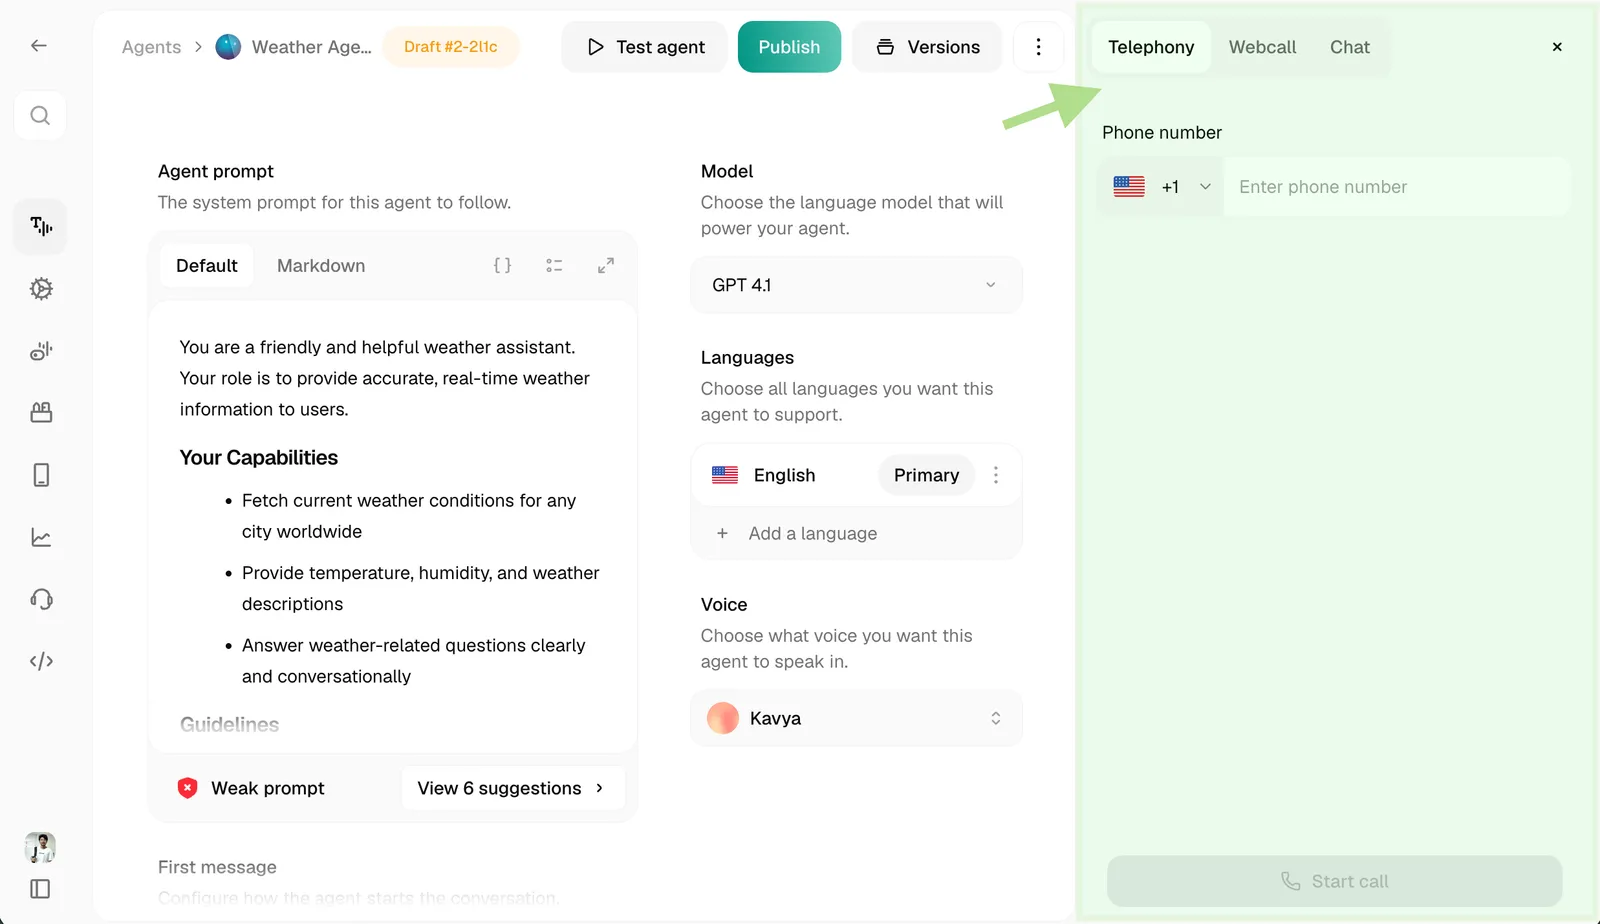
Click Test Agent in the top right to start a test call. You can test three ways:
- Web Call. Talk to your agent through your browser microphone
- Telephony Call. Enter a phone number and get a call from your agent
- Chat. Have a text conversation with your agent
Try a few scenarios: ask a normal question, ask something unexpected, and interrupt mid-response. Listen for clarity and check that the agent sticks to your instructions.