Every API request requires an API key in the Authorization header.
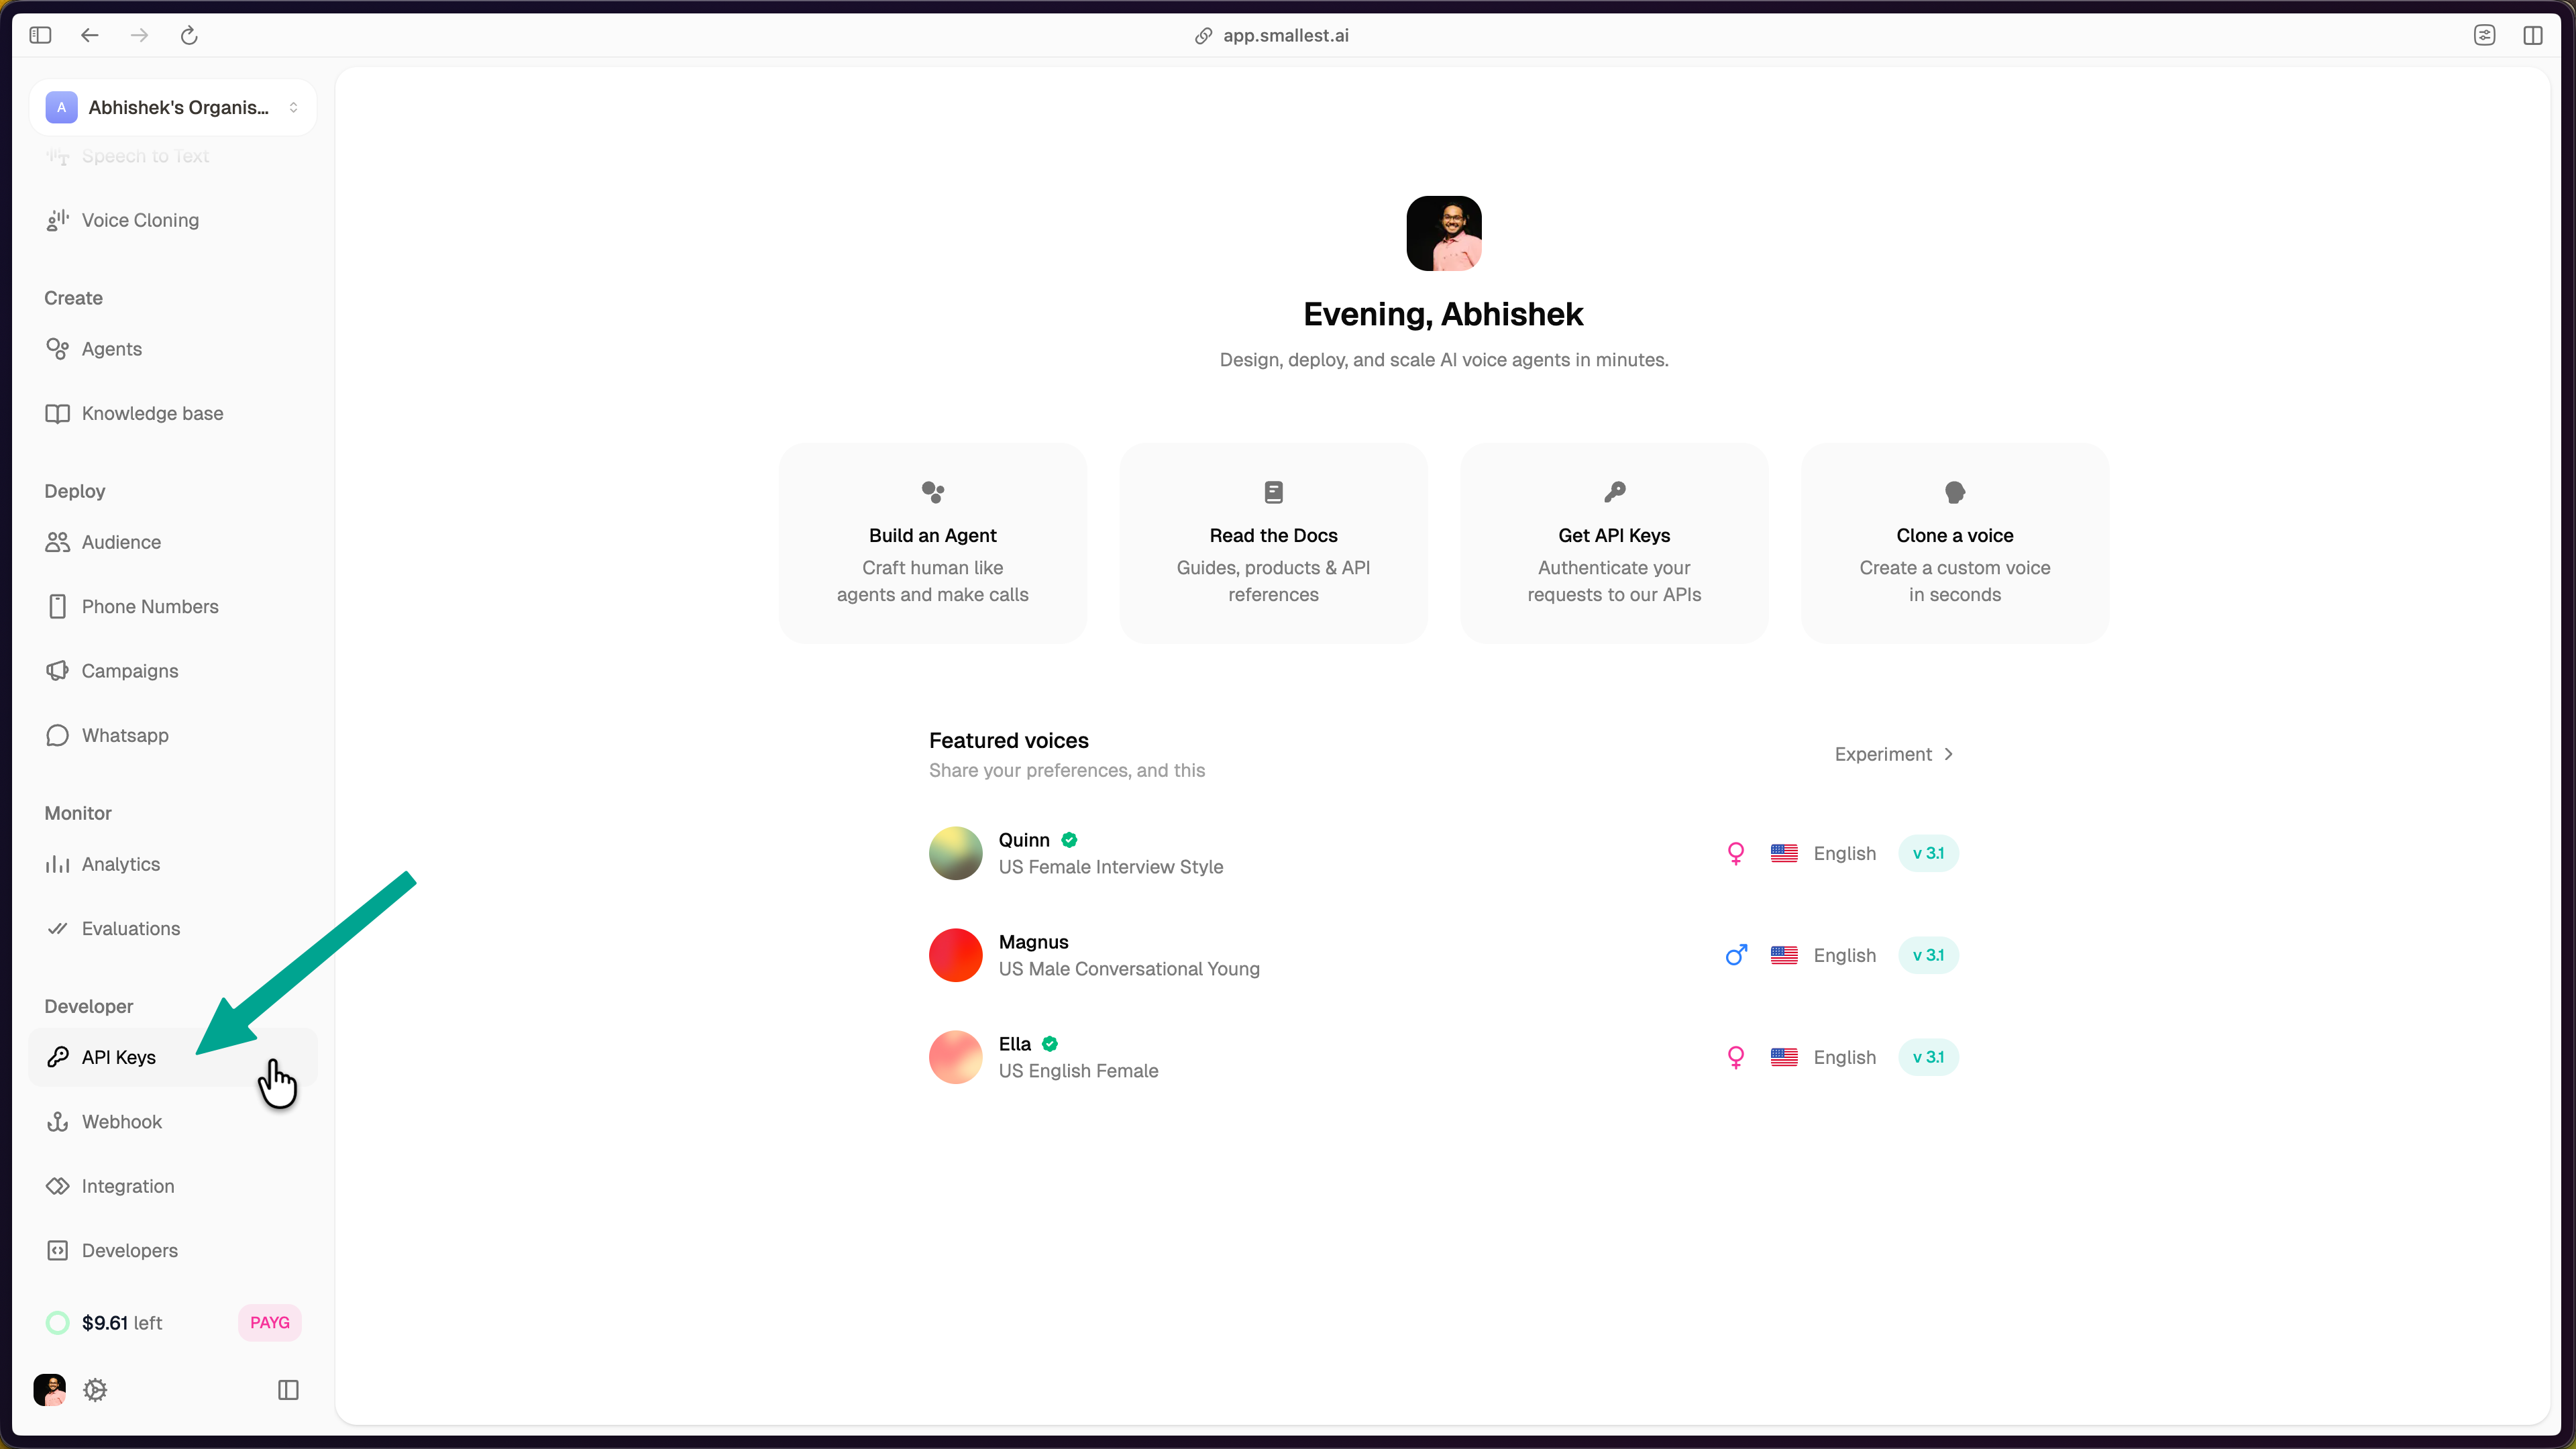
In the Smallest AI console, select API Keys from the left sidebar under Developer.
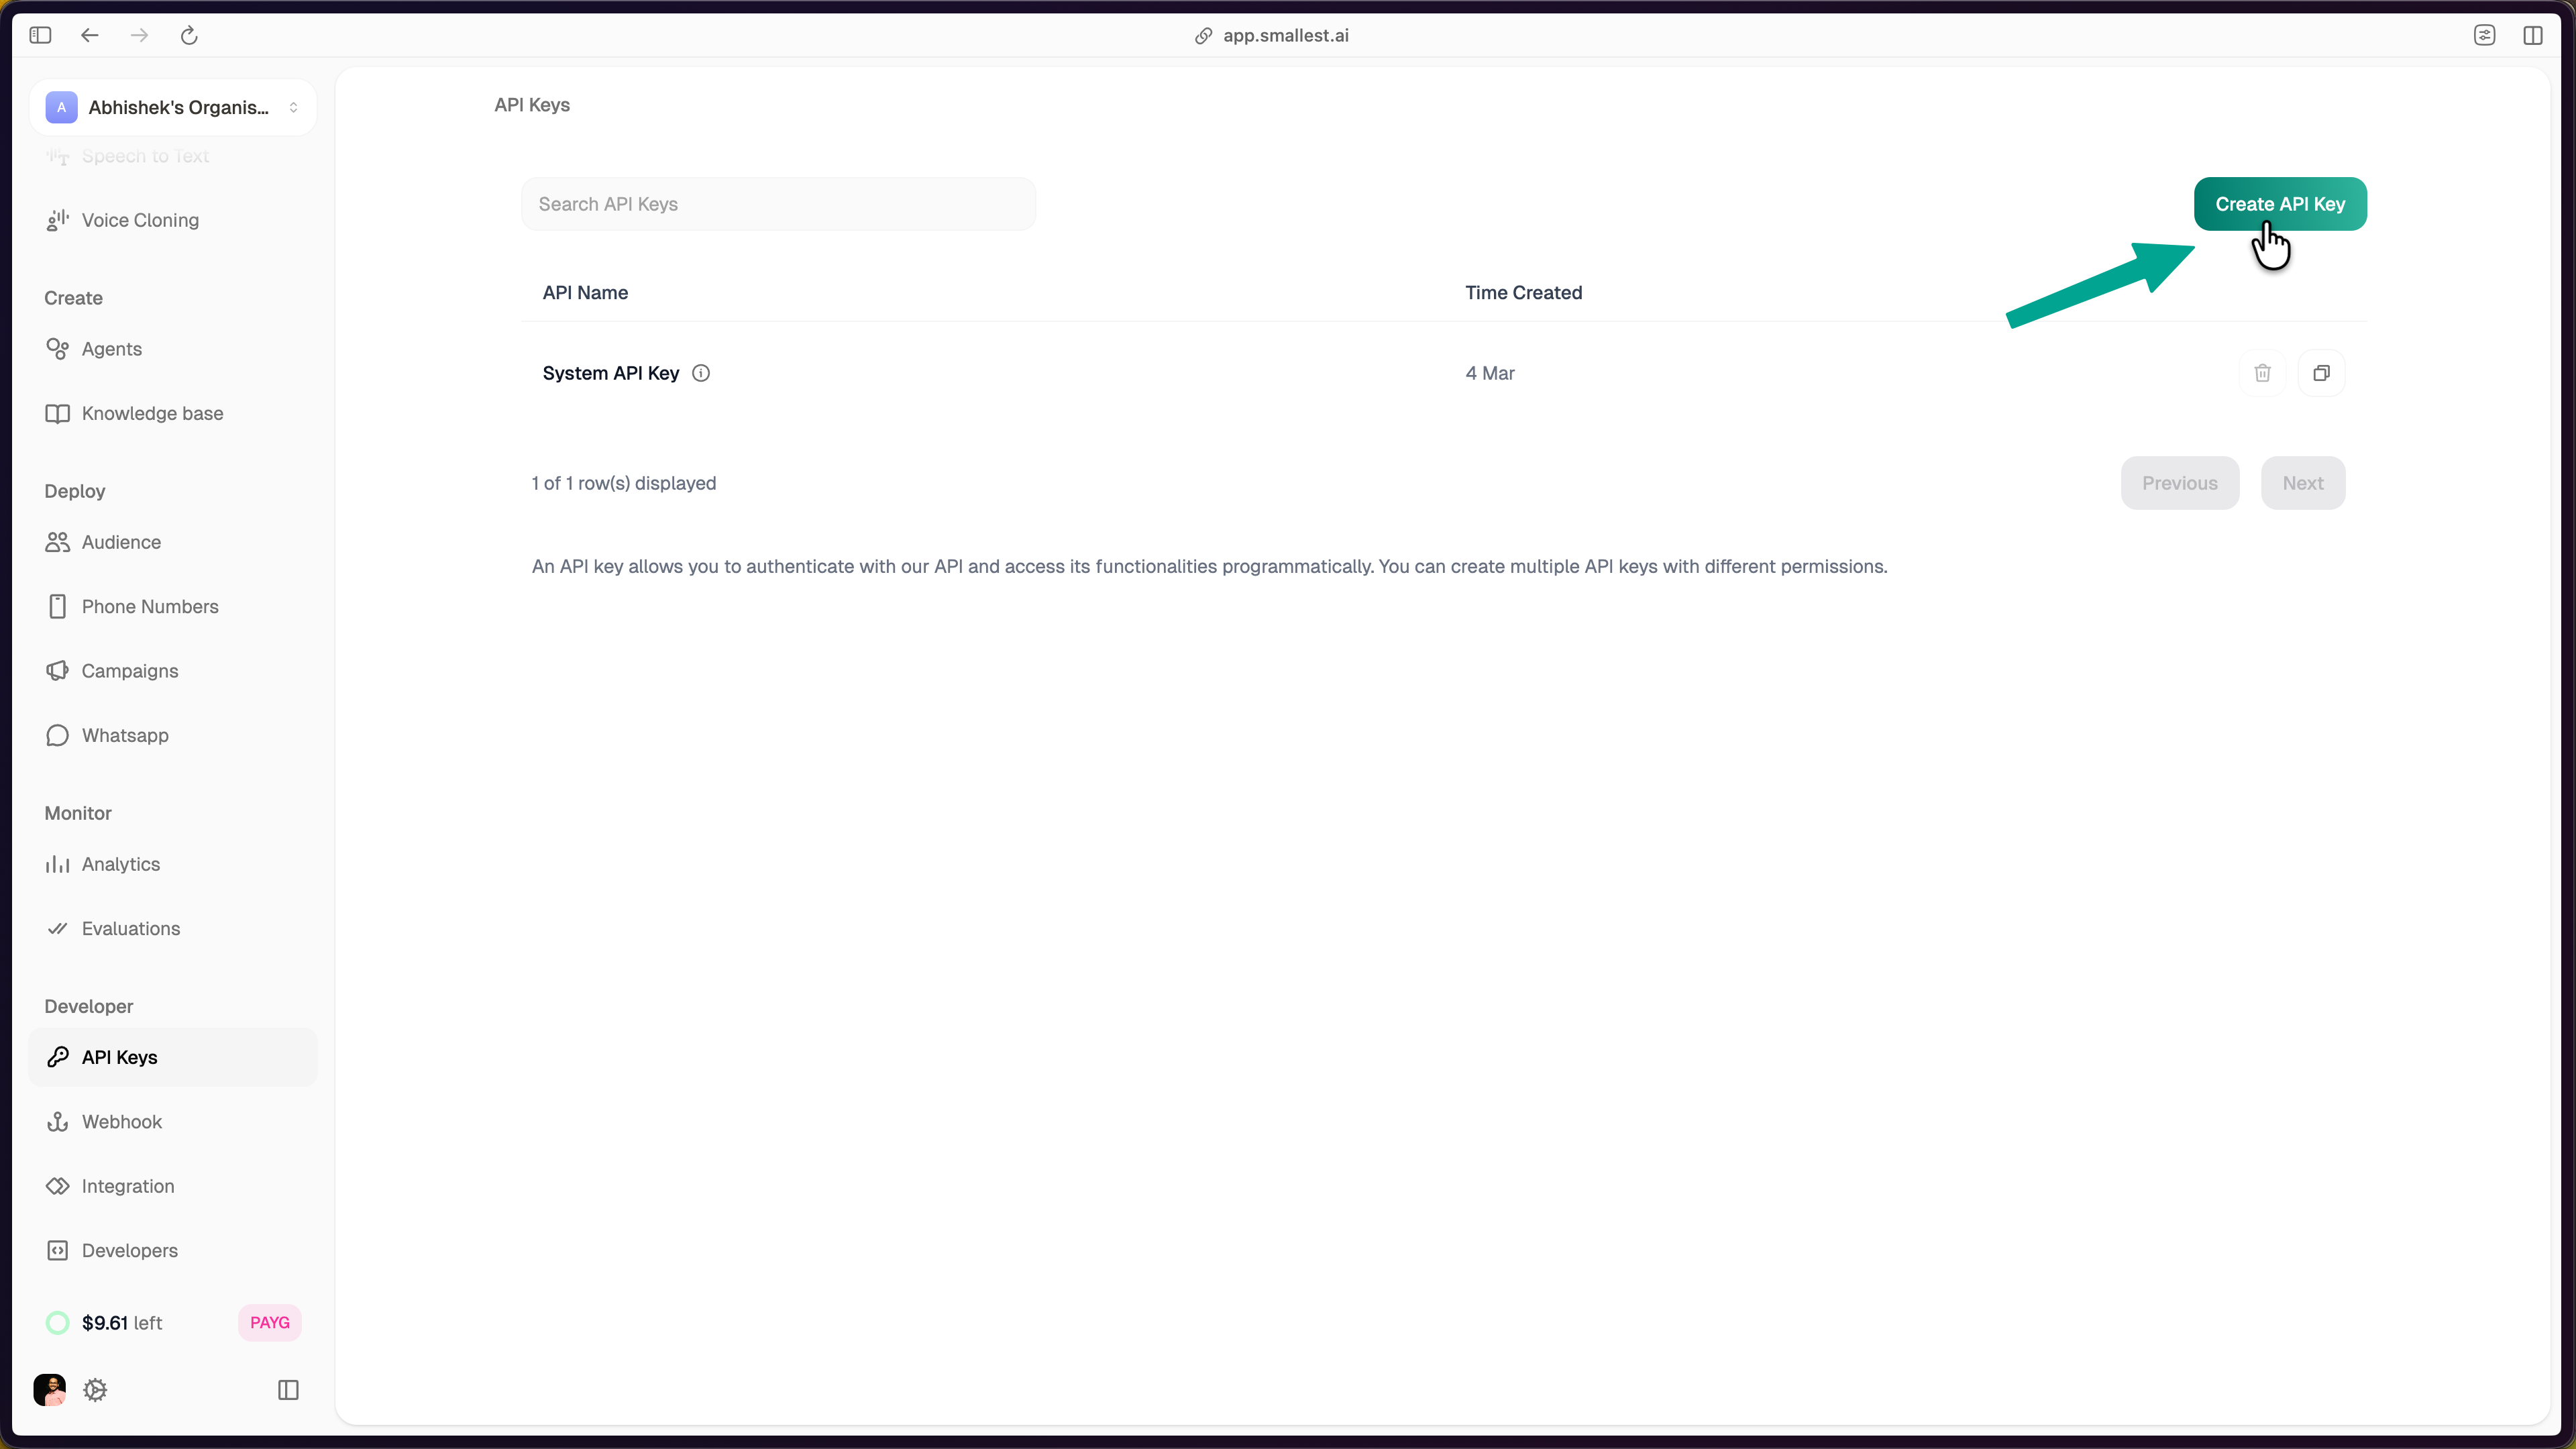
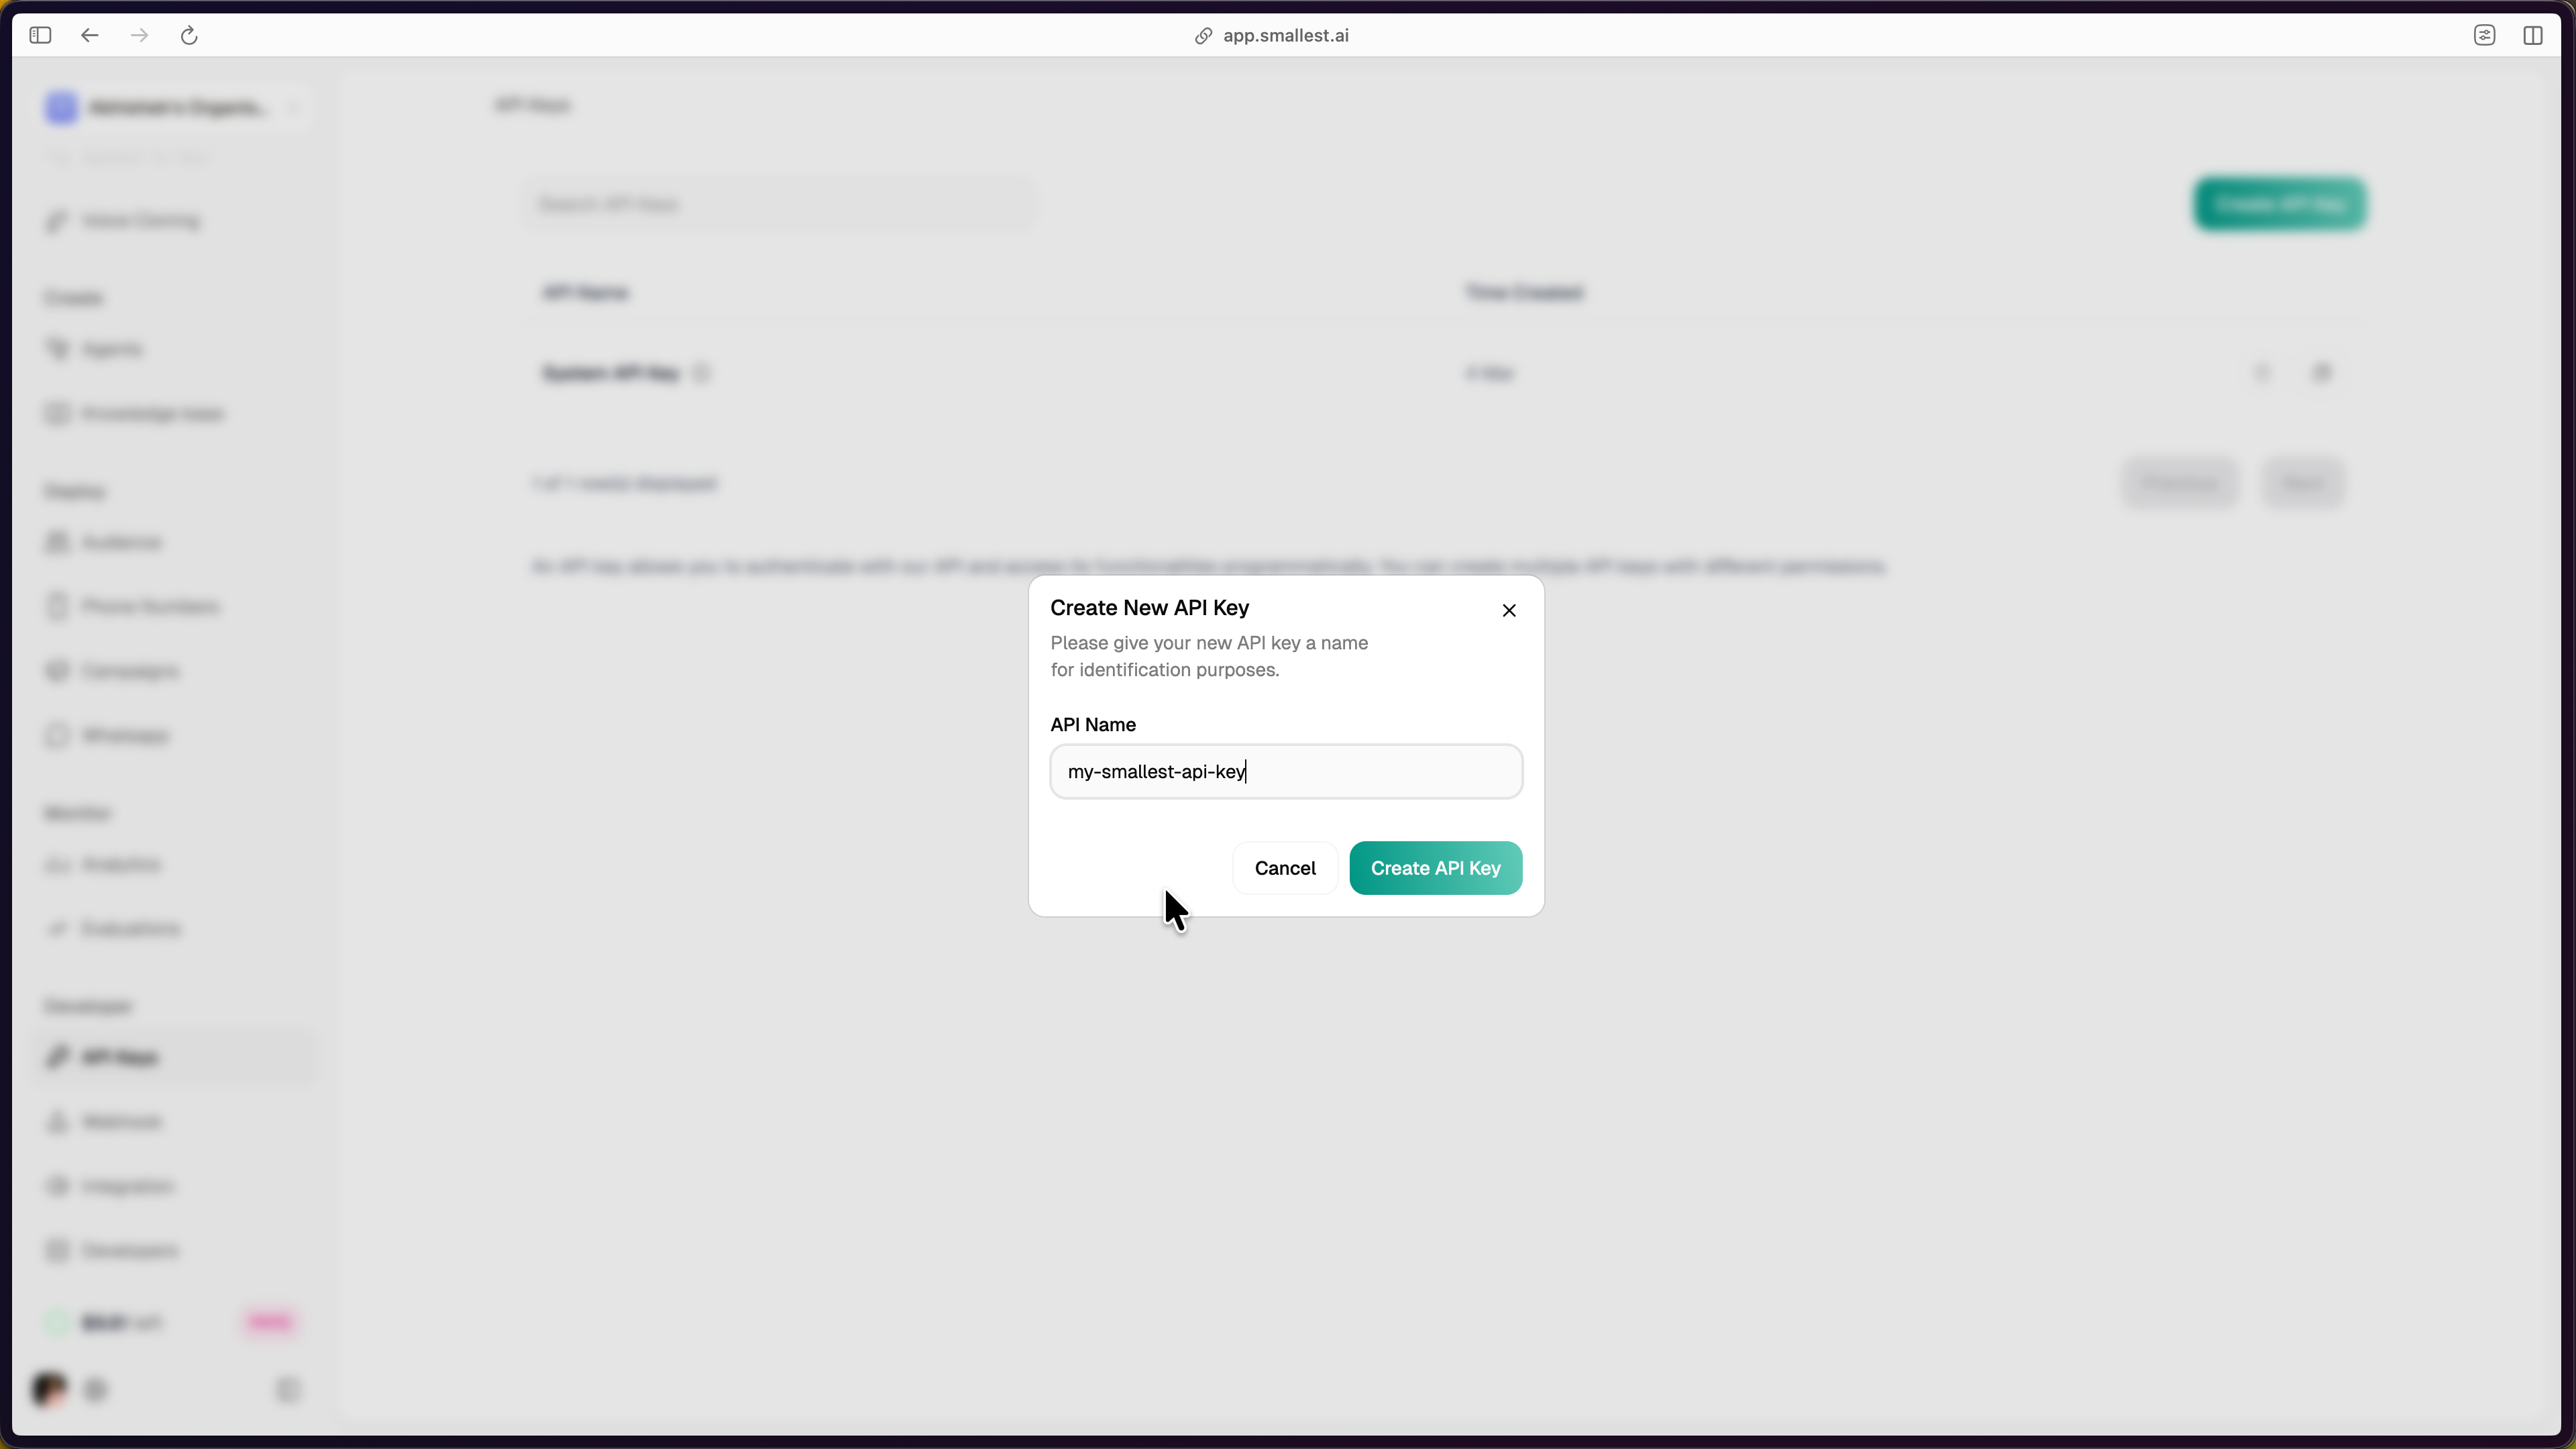
Click Create API Key in the top-right corner, enter a name (e.g., my-tts-app), and click Create API Key to confirm.
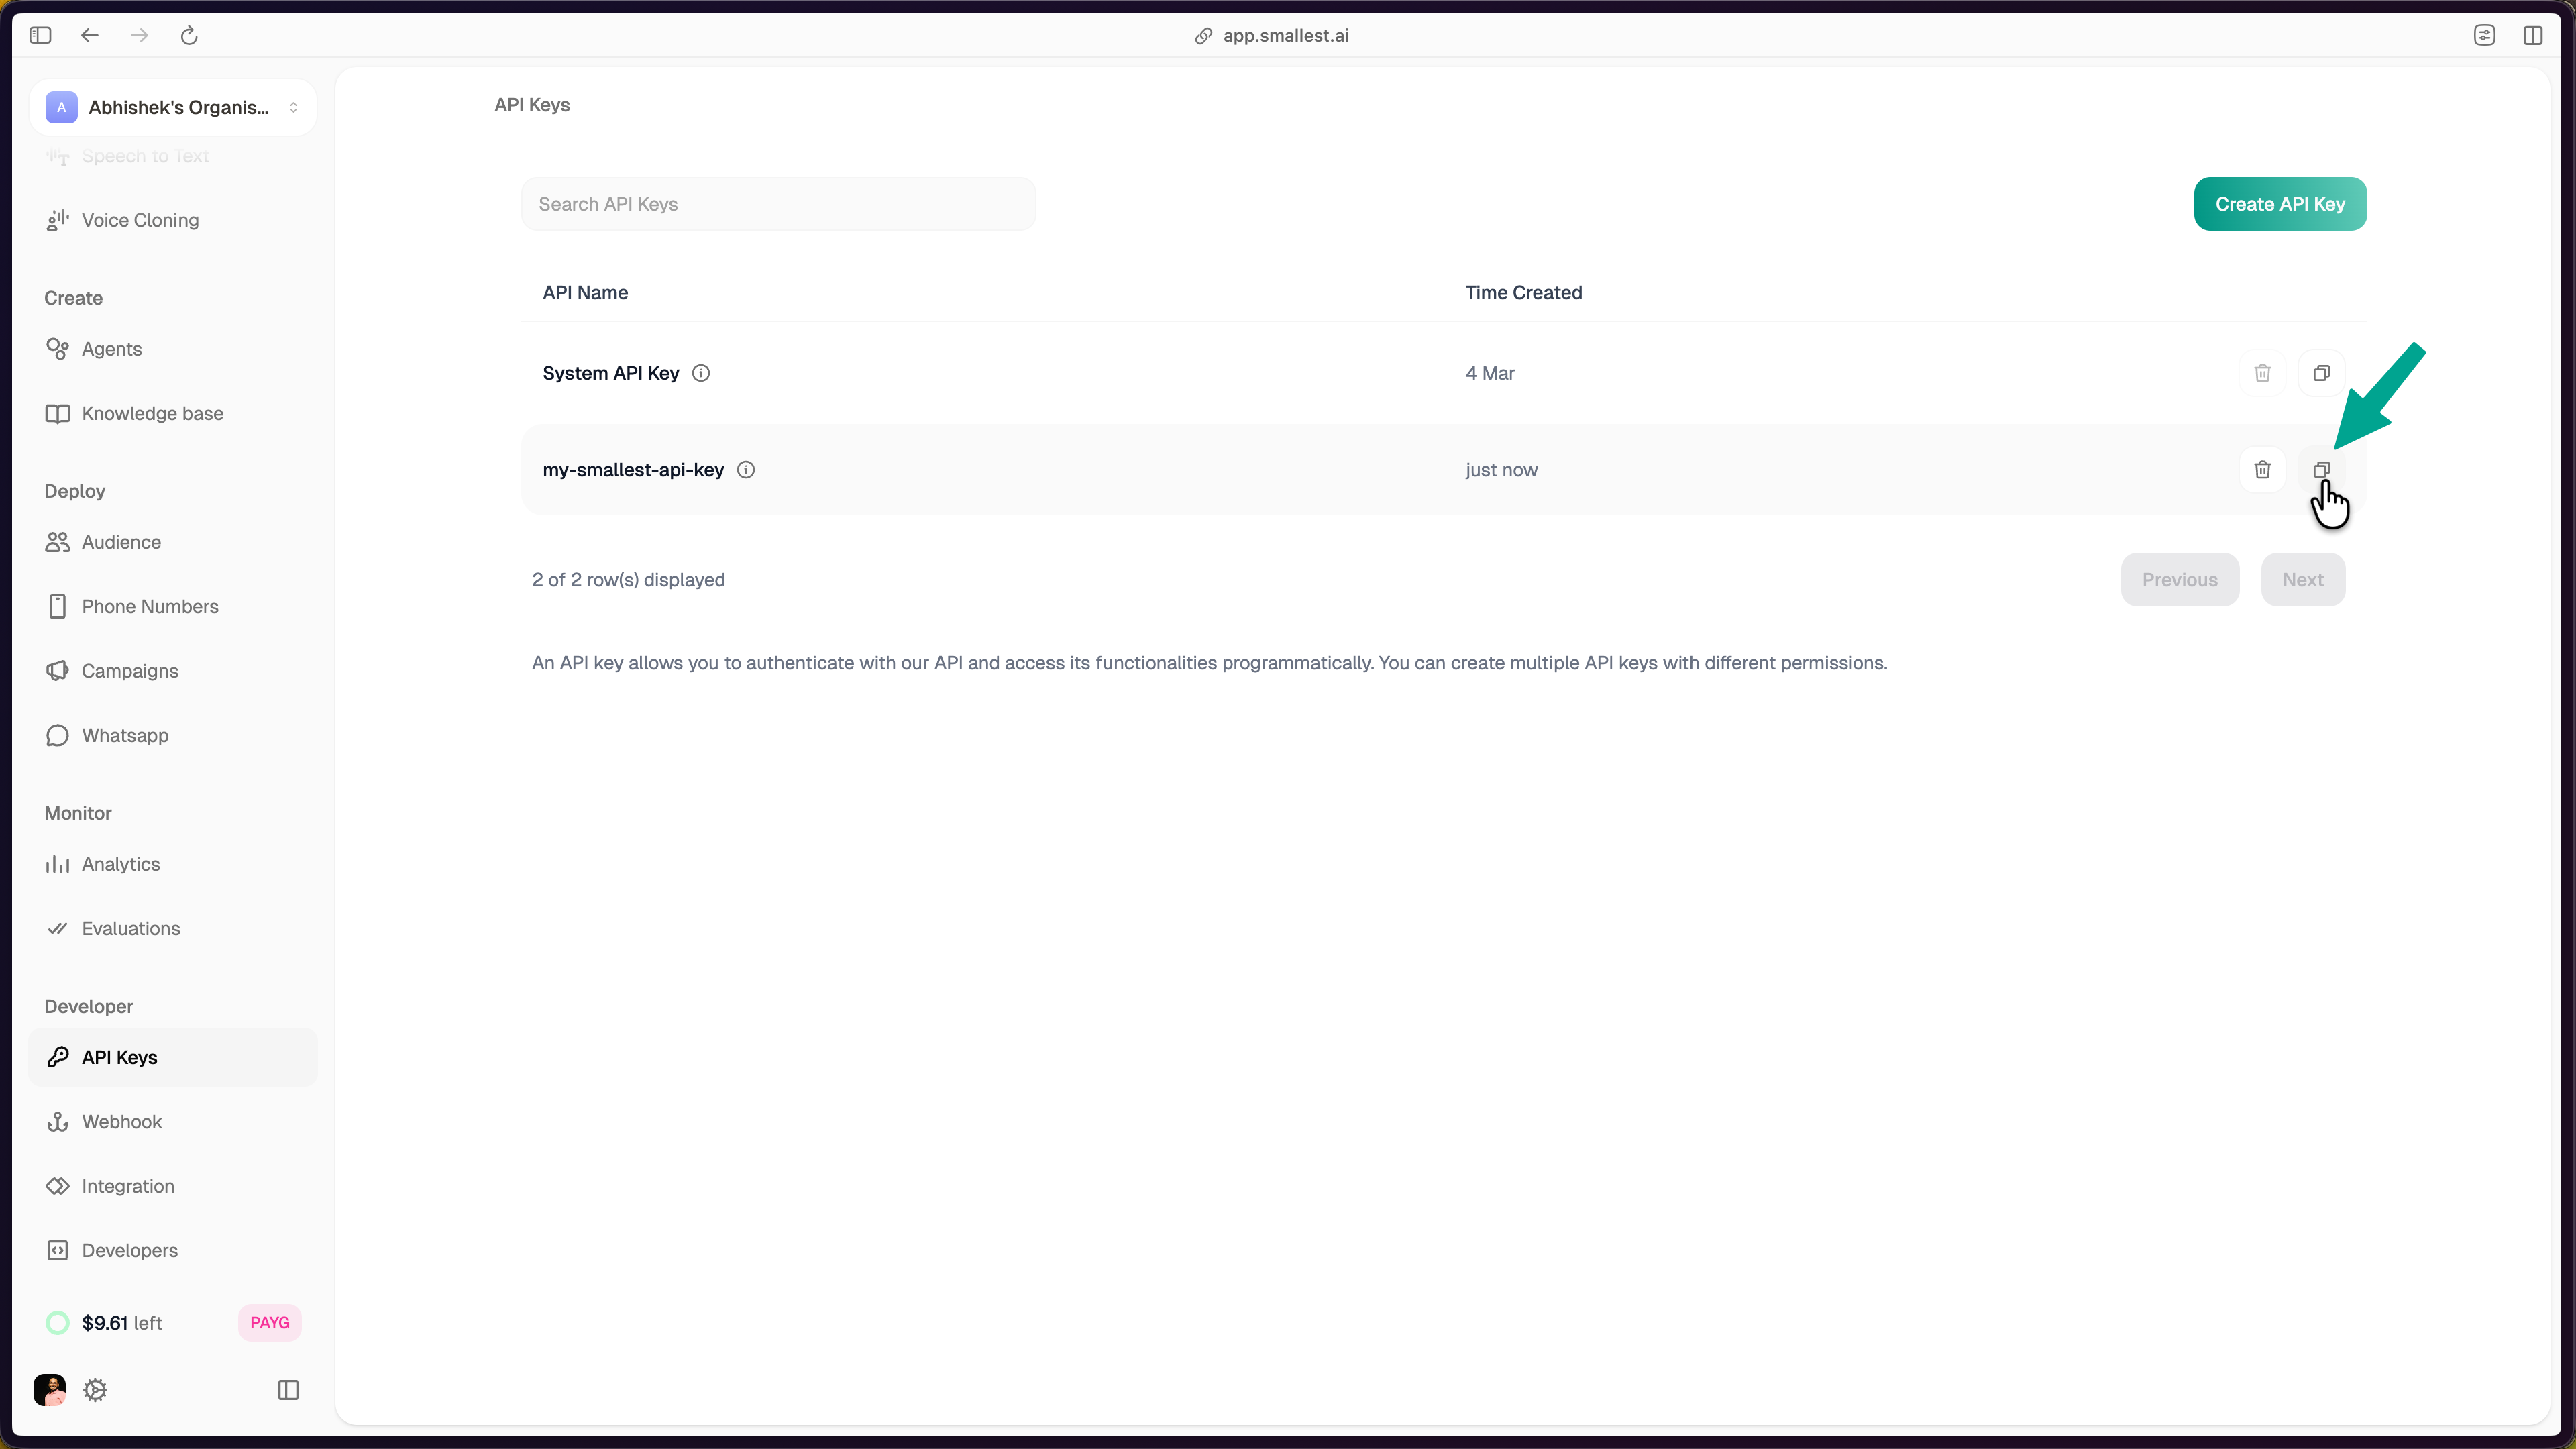
Include your key in the Authorization header with every request:
Your API key is a secret. Never expose it in client-side code, public repositories, or browser applications.
.env files locally (add .env to .gitignore)For rate limits and concurrency details, see Concurrency and Limits.