***
title: From Template
sidebarTitle: Start with Template
description: Jumpstart your Conversational Flow agent with pre-built templates.
-------------------------------------------------------------------------------
Templates give you a proven starting point. Pick one that matches your use case, customize it, and you're ready to go.
***
## Getting There
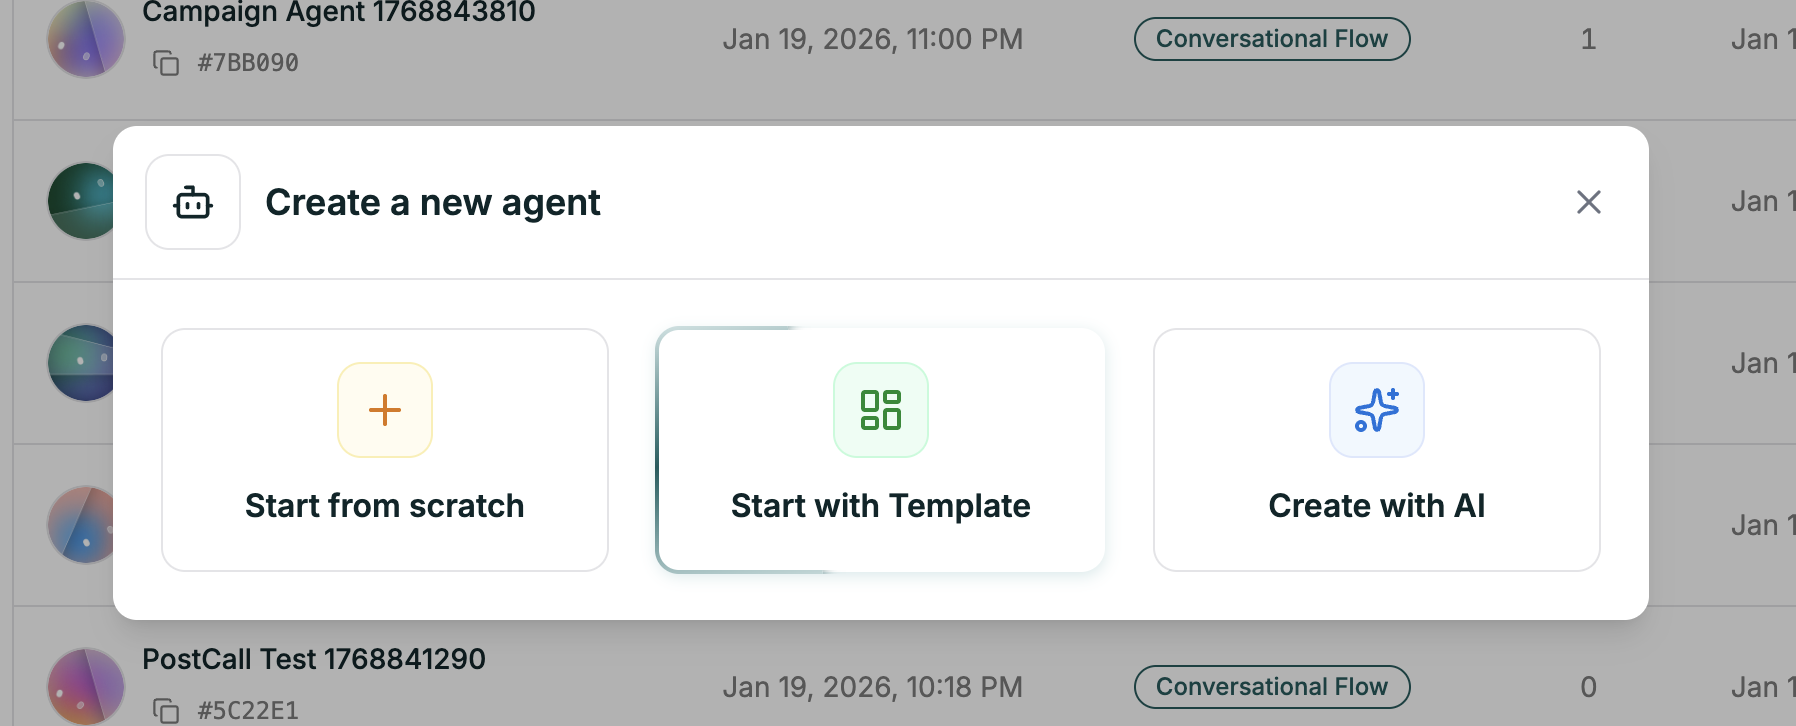
From your dashboard, click the green **Create Agent** button in the top right.
Select the second option in the modal.
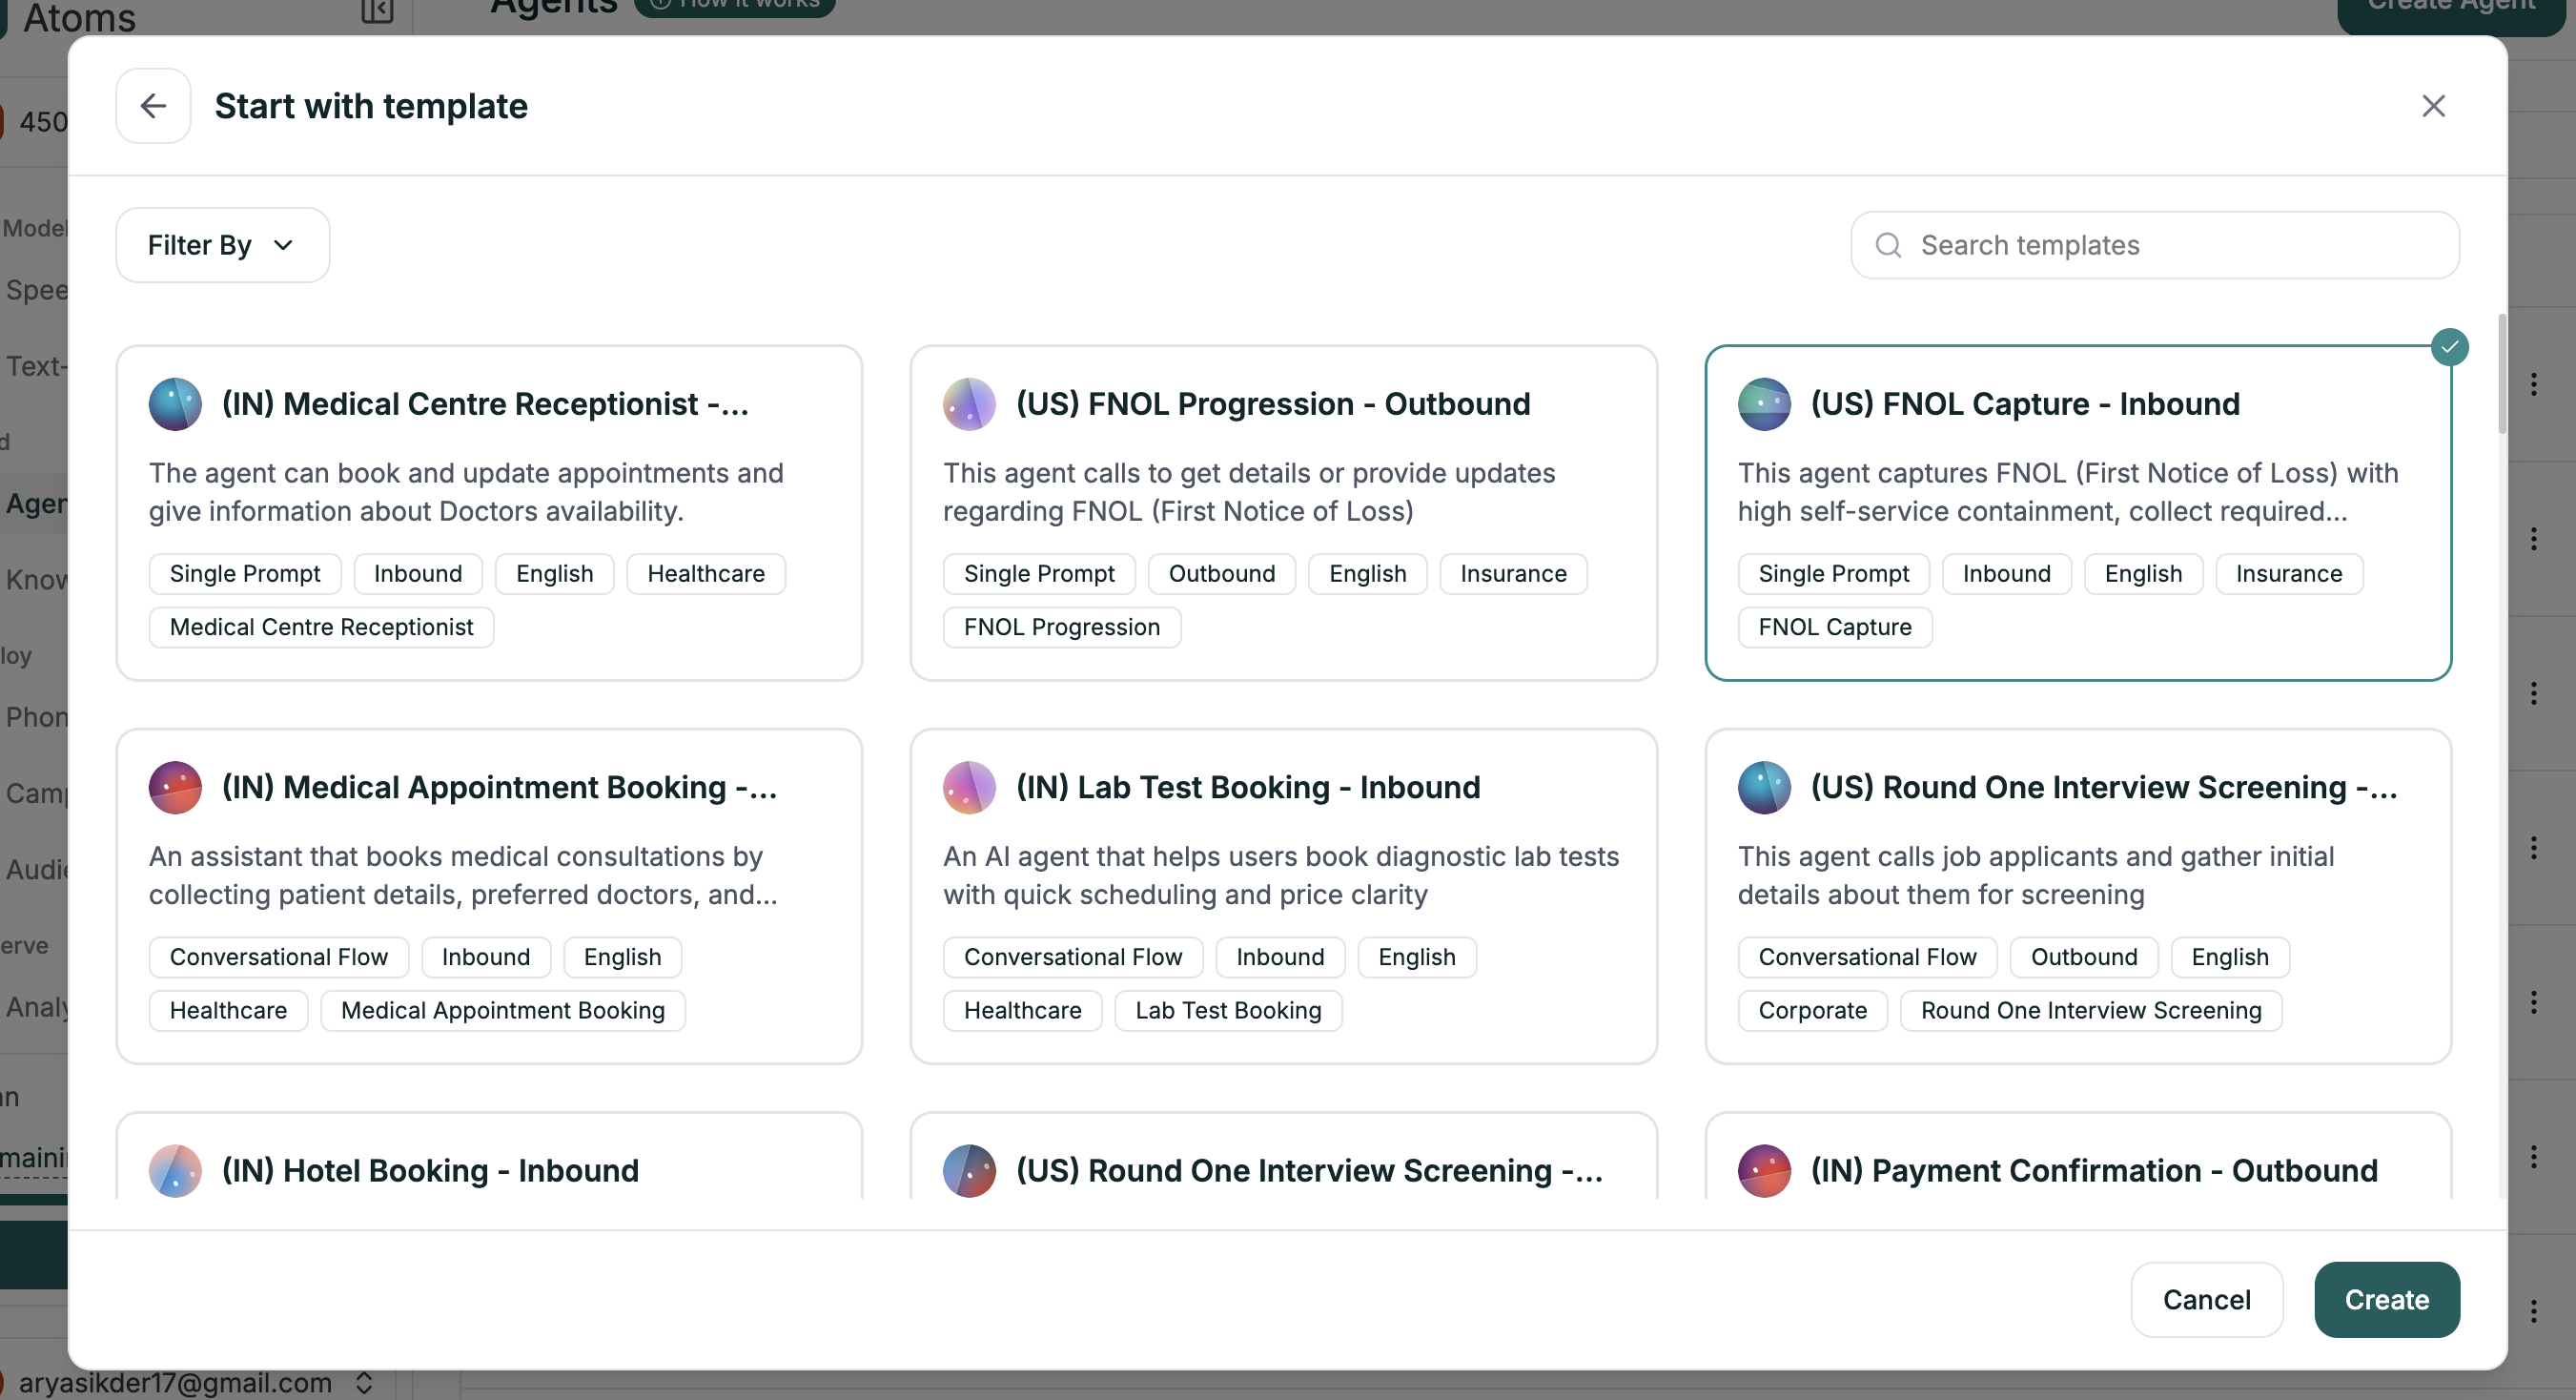
 Use **Filter By** to narrow by industry, direction (inbound/outbound), or agent type. Click any template to select it, then hit **Create**.
 The editor opens with a complete workflow — nodes, branches, and settings ready to customize.
***
## What Templates Include
Each template comes with a complete starting point:
| Component | What You Get |
| --------------------- | --------------------------------------------------- |
| **Complete Workflow** | Nodes and branches for the entire conversation flow |
| **Node Prompts** | Pre-written prompts for each step |
| **Branch Conditions** | Logic already configured for common responses |
| **Voice Selection** | A voice that fits the use case |
Templates follow proven conversation patterns for their use case. The structure is designed — you just need to customize the details.
***
## Customizing Your Template
Templates are starting points. Always replace the placeholders with your specifics:
* **Company name and details** — Replace placeholder names with your actual business
* **Policies and rules** — Update return windows, hours, pricing, etc.
* **Node prompts** — Adjust the tone to match your brand
* **Branch conditions** — Add or modify paths for your specific needs
**Keep the structure.** Templates are organized intentionally. Replace the content, but keep the overall flow — it's designed for that use case.
***
## What's Next
Understand the canvas and make changes
Validate before deploying
The editor opens with a complete workflow — nodes, branches, and settings ready to customize.
***
## What Templates Include
Each template comes with a complete starting point:
| Component | What You Get |
| --------------------- | --------------------------------------------------- |
| **Complete Workflow** | Nodes and branches for the entire conversation flow |
| **Node Prompts** | Pre-written prompts for each step |
| **Branch Conditions** | Logic already configured for common responses |
| **Voice Selection** | A voice that fits the use case |
Templates follow proven conversation patterns for their use case. The structure is designed — you just need to customize the details.
***
## Customizing Your Template
Templates are starting points. Always replace the placeholders with your specifics:
* **Company name and details** — Replace placeholder names with your actual business
* **Policies and rules** — Update return windows, hours, pricing, etc.
* **Node prompts** — Adjust the tone to match your brand
* **Branch conditions** — Add or modify paths for your specific needs
**Keep the structure.** Templates are organized intentionally. Replace the content, but keep the overall flow — it's designed for that use case.
***
## What's Next
Understand the canvas and make changes
Validate before deploying